
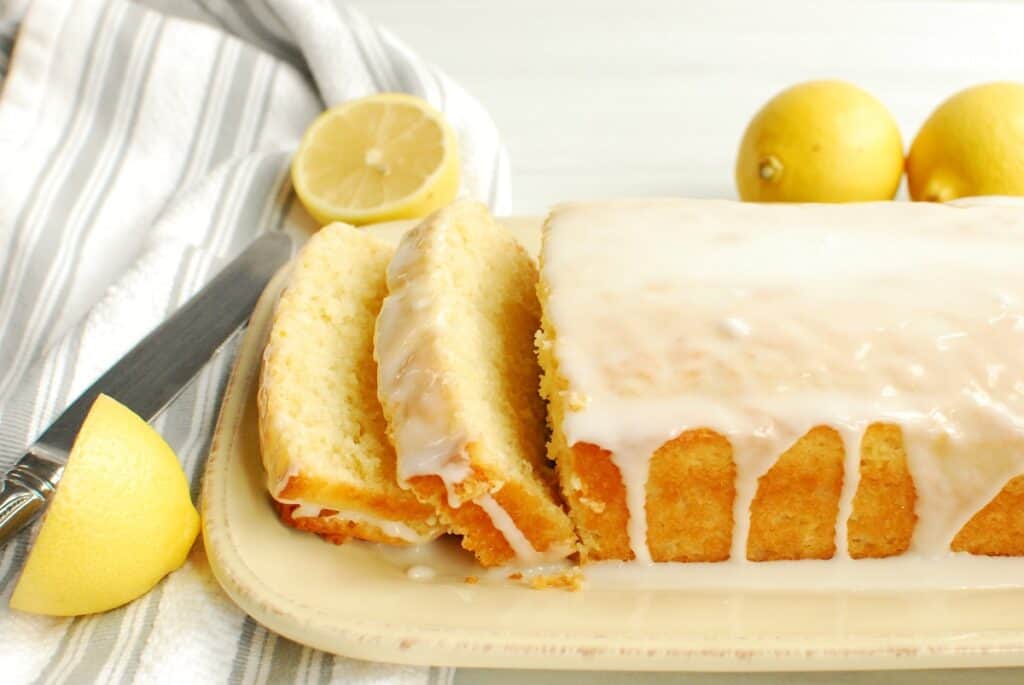
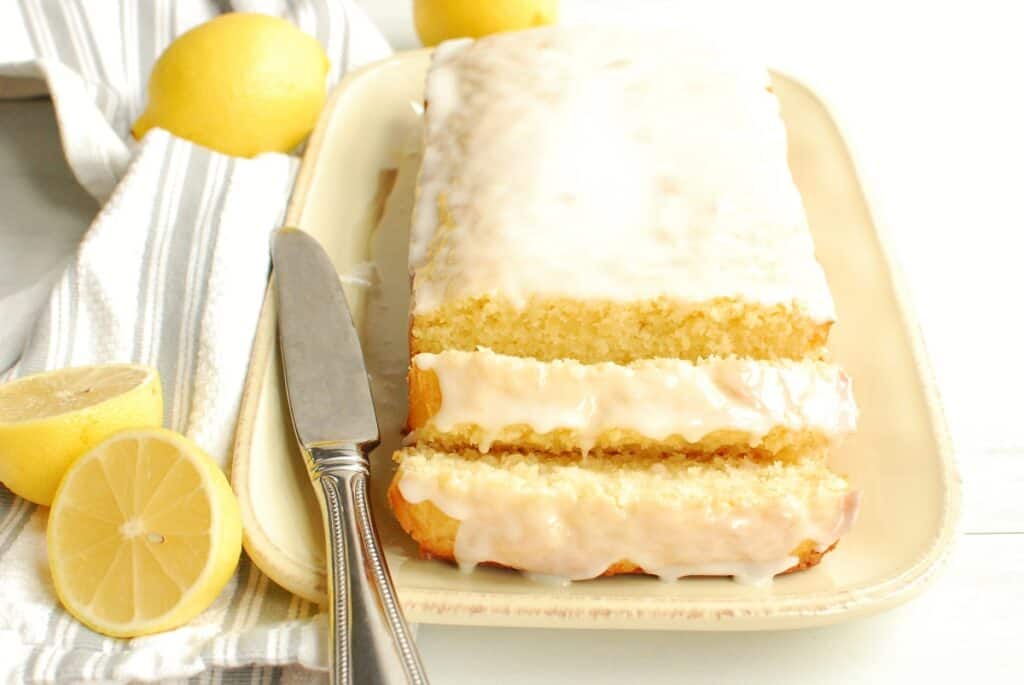
This dairy free lemon pound cake is perfect for brunch or dessert. The cake is dense (like it should be!) and packed with hints of citrus flavor, all topped off with a sweet glaze. It’s easy to make and perfect for anyone on a dairy free diet (and no one will be able to tell it’s not a traditional butter-filled recipe).
Ingredients
Here’s everything you’ll need to make this recipe, along with a few selected ingredient notes:
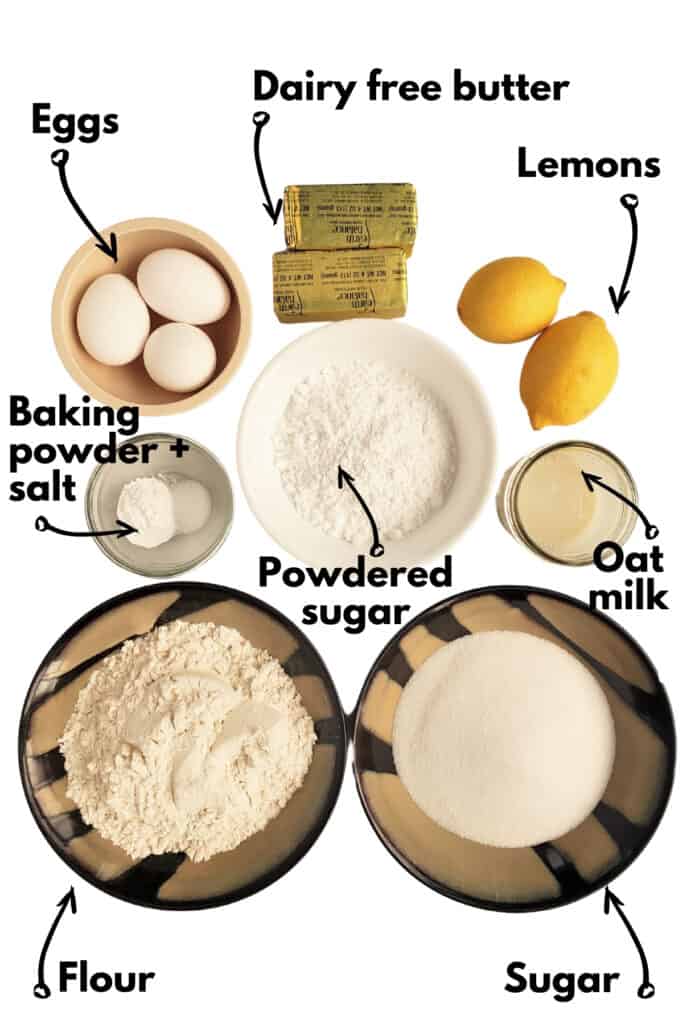
- Oat milk: I prefer extra creamy oat milk for this recipe as it adds a bit of richness, but regular oat milk also works.
- Dairy free butter: For this recipe, I recommend either Country Crock plant butter sticks made from avocado oil, or Earth Balance soy free buttery baking sticks.
- Lemons: You’ll use both zest and juice for this recipe. Pro tip: If you don’t have a zester, don’t worry! Simply peel the lemon as thinly as possible, aiming just to get the yellow outer layer and avoiding the inner white pith. Once you’ve peeled the lemon, use a chefs knife to chop up the peel into small pieces of zest. (PS – if you’re looking for more lemon-inspired recipes, try these dairy free lemon blueberry muffins or dairy free lemon cookies.)
Instructions
You’ll find the full recipe amounts and instructions at the bottom of this post in the recipe card, but here’s a helpful overview with photos.
Start by preheating your oven and preparing the loaf pan. Put a piece of parchment paper in the pan so that a little hangs over the edge of each side. This will make it easier to pull the cake out when it’s done.
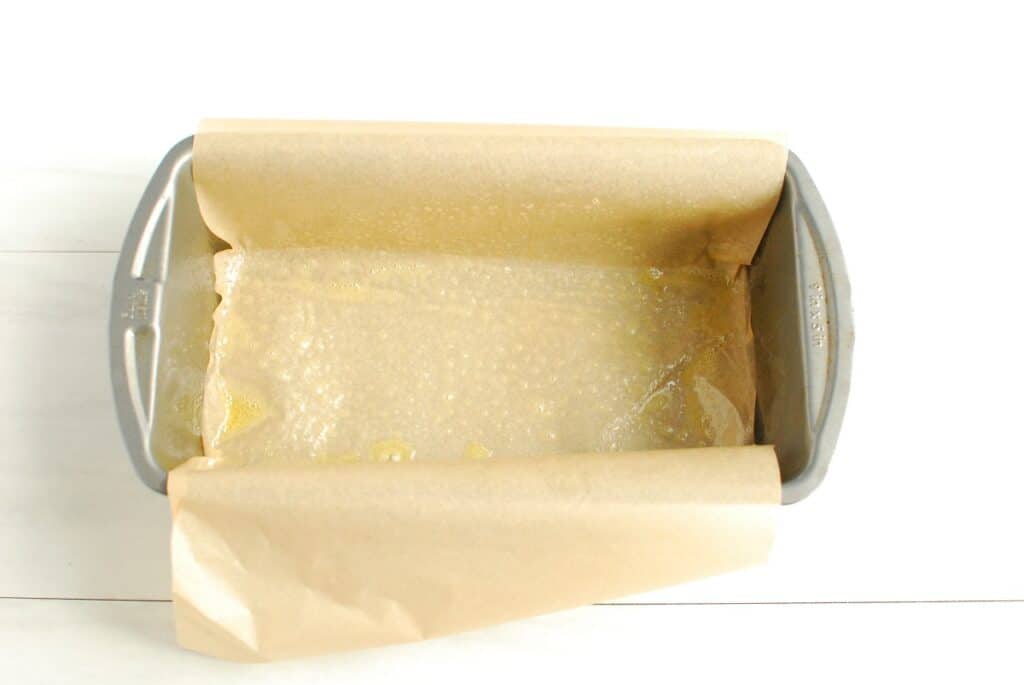
Grease that pan over the parchment paper, and set it aside for now.
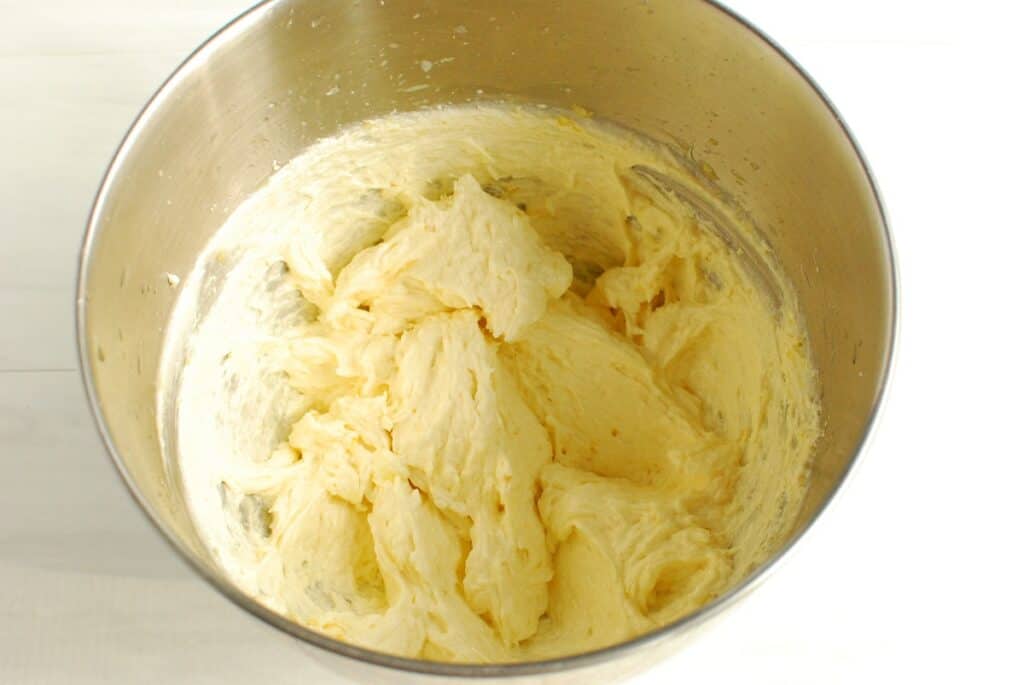
Next, cream together you butter, sugar, and lemon zest. This is best done with a stand mixer with the paddle attachment, or a hand mixer.
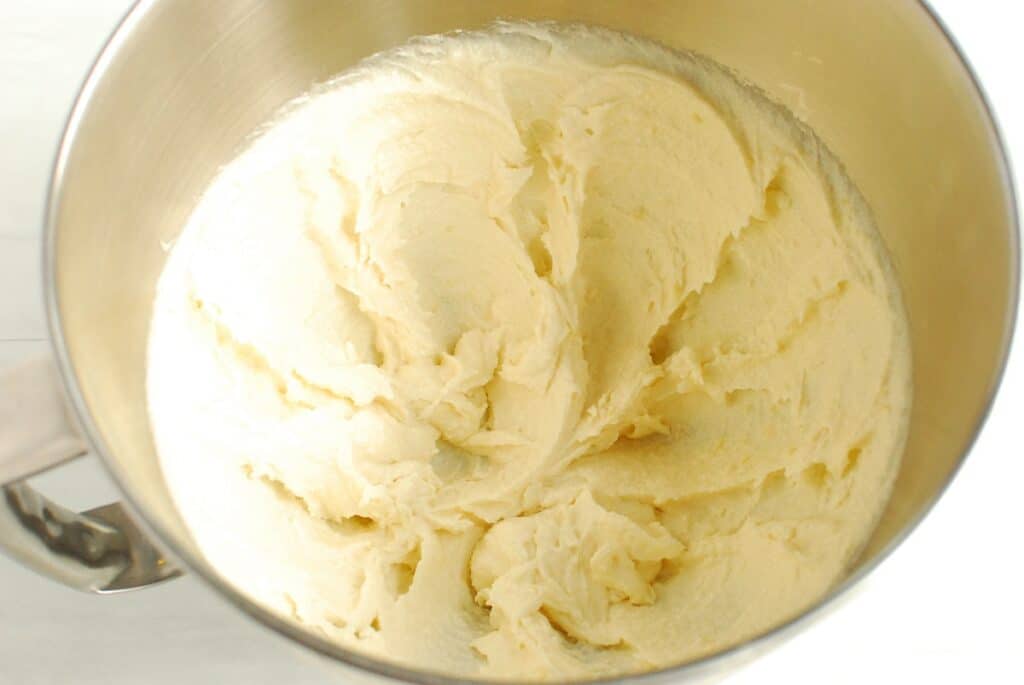
Next, add the eggs and lemon juice, and mix again. At first, you may notice the mixture looks slightly “broken” – but keep beating it and it’ll come together all light and fluffy again, like this:
In a separate bowl, mix together your dry ingredients – the flour, baking powder, and salt.
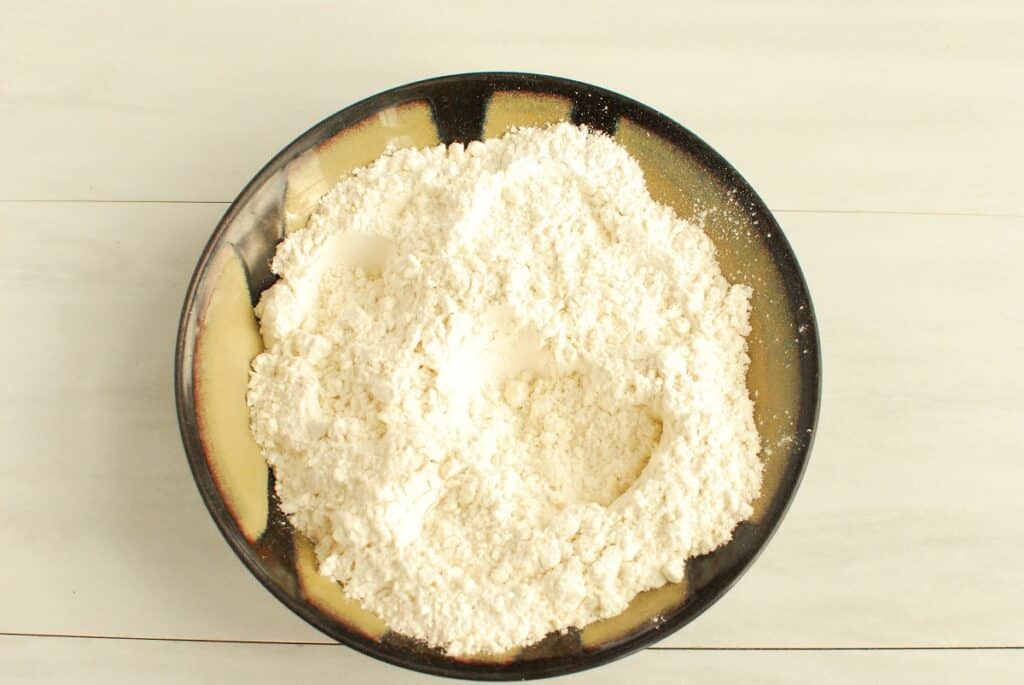
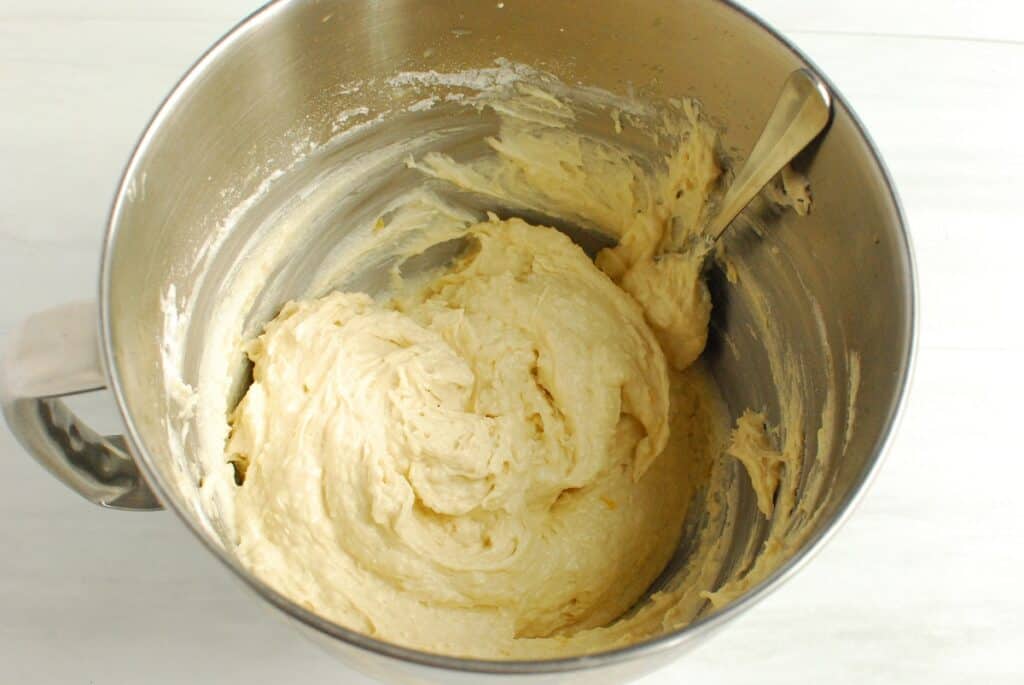
Add the dry ingredients to the other bowl with the wet ingredients, and pour in the oat milk as well. Stir until just combined. Your batter will look like this:
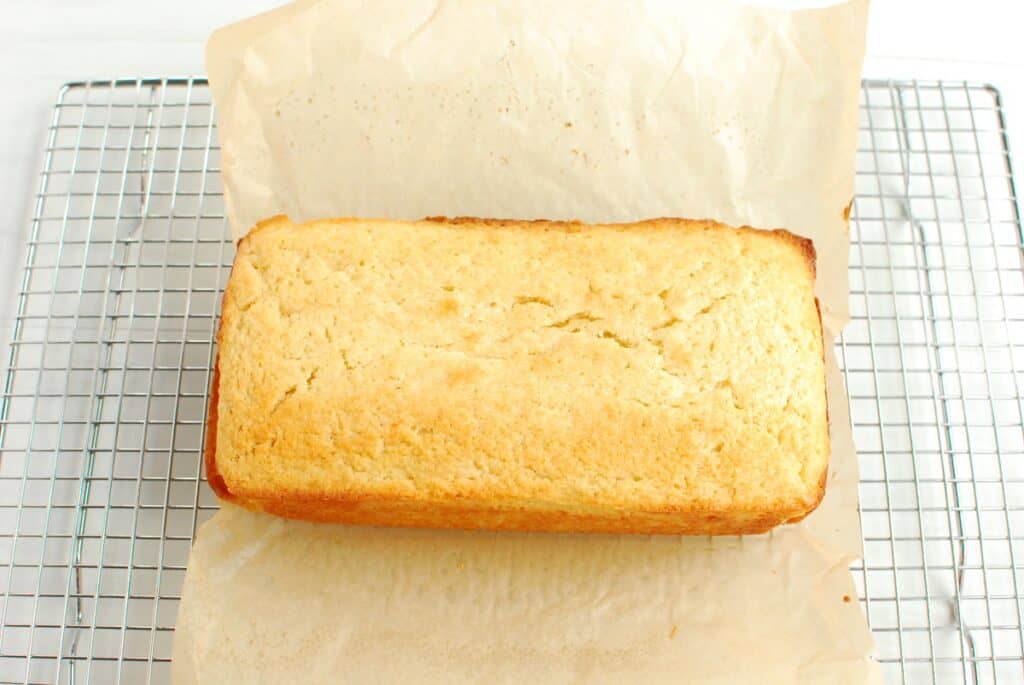
Pour the batter into the loaf pan, and bake it for about 50 minutes. When it’s done, let it cool in the pan for about 10 minutes, then use the overhang of the parchment paper to remove it and transfer it to a wire cooling rack.
While it’s cooling, you’ll prepare your glaze by mixing together your powdered sugar, lemon juice, and oat milk. It should be a thick glaze. If it’s still looks a little dry, feel free to add another splash of oat milk – just be careful about adding too much or it’ll be too thin.
When the cake is cooled, pour the glaze on top. It should spread and drip down the sides a little, and then set.
Dig in and enjoy!
Recipe FAQ
Here are some common questions that may come up as you prepare this recipe:
Store at room temperature in an airtight container for up to two days. If you don’t plan to finish your cake withing that time, freeze any extras to enjoy in the future.
Yes. Freeze the unglazed cooled cake either as a whole loaf or in individual slices. Be sure to wrap well in plastic wrap or wax paper, then store in a zip top freezer bag. You can thaw it at room temperature and add the glaze on the day that you’re ready to enjoy it.
Yes. Pound cakes are not as light and fluffy as a traditional cake recipe. It’s normal for this cake to have a denser, heavier bite.
Allergens in this Recipe
* Disclaimer: Always double check ingredients and product packaging to confirm a recipe meets your allergy needs. While I try to note potential allergens below, there is always the chance I may miss something or that manufacturer formulations may change.
As written, this recipe is dairy free. Depending on your choice of dairy free butter, this recipe is also easily made nut free and soy free (just double check the butter you plan to use).
This recipe does contain eggs and wheat/gluten. The nature of this recipe makes it difficult to substitute the eggs.
If you’d like to make the recipe gluten free, I recommend using a gluten free all-purpose flour blend or gluten-free cake flour, and adding one extra egg to the recipe. Be sure your flour blend contains xanthan gum; if it doesn’t add in half a teaspoon of that as well. Lastly, double check that your oat milk is made with certified gluten free oats.
More Dairy Free Desserts
If you’re looking for more tasty dairy free desserts, try one of these other recipes:
- Dairy free M&M cookies
- Dairy free yellow cake with chocolate frosting
- Dairy free magic bars
- Dairy free smores cookies
- Dairy free dunkaroo dip
I hope you enjoy this dairy free lemon pound cake as much as my family does. If you get a chance to try it, feel free to leave a recipe rating or comment below.

Dairy Free Lemon Pound Cake
Ingredients
For the pound cake:
- 1 cup dairy free butter, softened
- 1 cup granulated sugar
- Zest of 1 lemon
- 3 tablespoons lemon juice
- 3 eggs
- 1 ½ cups all-purpose flour
- 1 ½ teaspoons baking powder
- ¼ teaspoon salt
- ⅓ cup extra creamy oat milk
For the lemon glaze:
- 1 cup powdered sugar
- 1 ½ tablespoons lemon juice
- ½ tablespoon extra creamy oat milk
Instructions
-
Preheat the oven to 350 degrees F. Line a loaf pan with parchment paper, leaving an overhang off both sides, and grease the pan well.
-
In a large mixing bowl, cream together the butter, sugar, and lemon zest until light and fluffy, using either a stand mixer or hand mixer.
-
Add the lemon juice and eggs and continue mixing, until light and fluffy again.
-
In a separate bowl, mix together the flour, baking powder, and salt.
-
Pour the dry ingredients into the wet ingredients, and add the oat milk as well. Stir until just combined.
-
Pour the batter into the loaf pan. Bake at 350 degrees F for 45 to 55 minutes, or until a toothpick pulls out clean from the center.
-
Let the cake cool in the pan for 10 minutes, then use the parchment paper overhang to lift the cake and place on a metal cooling rack. Let cool completely.
-
While the cake is cooling, prepare the glaze: Mix the powdered sugar, lemon juice, and oat milk in a small mixing bowl.
-
When the cake is cool, pour the glaze over the top and let it spread over the cake. Wait a few minutes for the glaze to set, then dig in and enjoy.
Recipe Notes
- For dairy free butter, I recommend Country Crock plant butter sticks with avocado or Earth balance soy-free sticks.
Nutrition analysis (approximate per slice): 383 calories, 19.5 g fat, 6 g saturated fat, 335 mg sodium, 48 g carbohydrate, 1 g fiber, 32 g sugar, 4 g protein, Vitamin D: 2%, Calcium: 5%, Iron: 7%, Potassium: 1%
Share: What’s your favorite dairy free dessert? If you tried this lemon pound cake, what did you think?
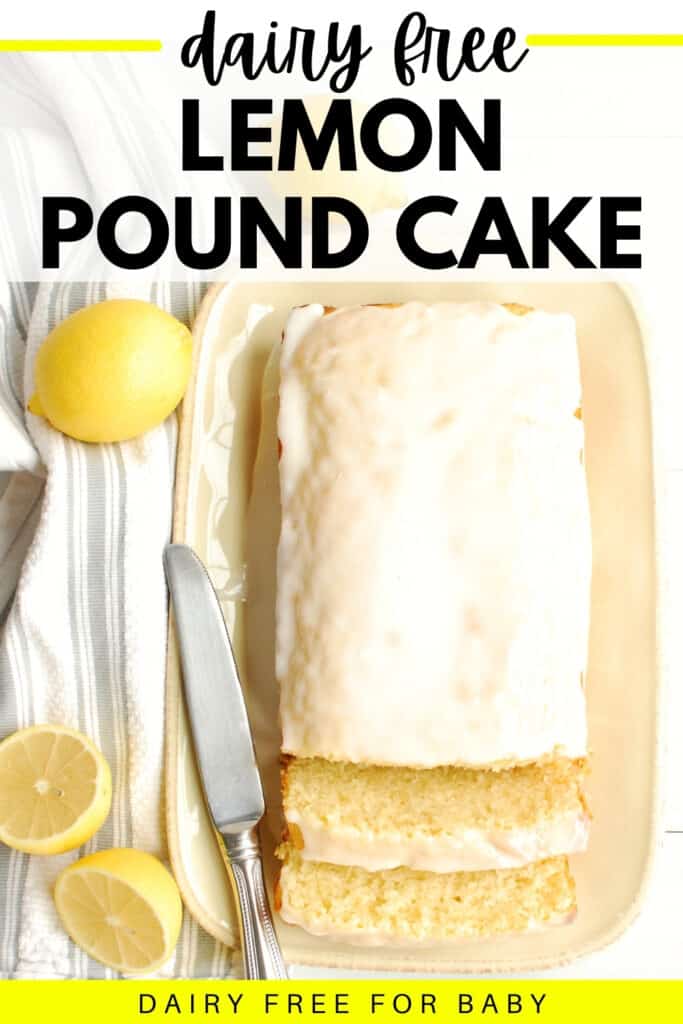
Feel free to pin this post to save for later.
Hey there, was so excited to find a dairy free recipe for lemon pound cake since there really aren’t that many. Unfortunately, the recipe didn’t work for me. I’m trying to pinpoint where things went south. I realized my batter wasn’t looking like yours at all when adding in the liquids to the butter/sugar mixture but thought things would end up working out. To my dismay, the butter got “piecey”and stayed that way throughout. Could it be the lemon juice that has to be poured in only after the eggs are fully combined? Is the butter needing to be fully room temperature? I’m totally willing to try it again but don’t know how to make it work the next time round!
Hi Leah – aw, always a bummer when that happens! Let’s try to troubleshoot:
-Did you use softened butter? It needs to either be room temp or softened in the microwave (but not melted). Cold butter can get piecey in the batter and that could be where things went wrong.
-Did you use a full cup of dairy free butter – aka 2 sticks? Sometimes people read quickly and assume 1 stick, but a cup is 2 sticks.
-Did you use Country Crock plant butter sticks or Earth balance sticks? Other dairy free spreads, esp tub versions, have a higher water percentage and can mess with the recipe.
-Did you use a stand or hand mixer? Beating by hand can work but takes much much more time compared to stand/hand mixers.
Let me know if that helps. I will definitely retest the recipe to be sure it’s not an error on my end, but I do test multiple times prior to posting so I don’t think that’s it – but def want to help get this figured out for you! 🙂
This looks good – I’m excited to try it! However I have a friend I’d like to be able to try it who is allergic to oats. Do you think another creamy DF milk could work? Like almond or coconut? (she’s also allergic to cashews)
Hi Katie! Yes, either of those substitutes should work fine in this recipe. If you use coconut milk, keep in mind it can sometimes impart a slight coconut flavor.
What size loaf pan do you use for this recipe? Thank you.
Great question! I use a standard US loaf pan which is about 8.5×4.5 inches. You can use alternative sizing, you just might need to adjust the bake time.