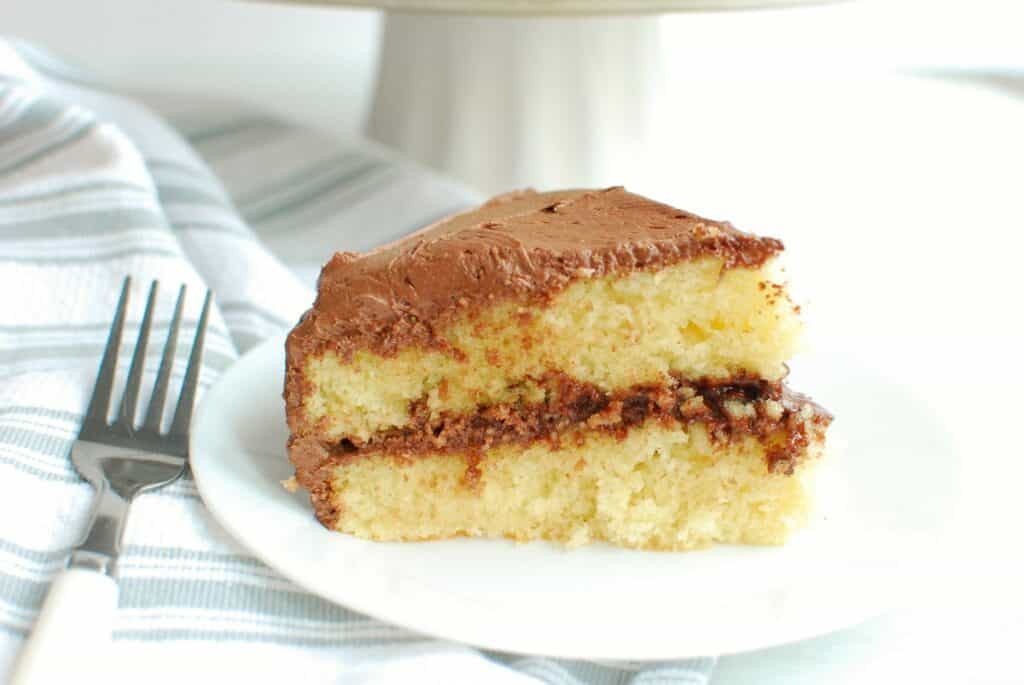
Whether you have a birthday coming up and need to whip up a cake, or you just want to make a special treat for the family – this dairy free yellow cake will be your go-to option! It’s got a tender crumb, sweet taste, and richness from the eggs and dairy-free butter. Topped with chocolate frosting, this is a decadent dessert you’ll love!
Ingredients
Here are the ingredients you’ll need to make this, along with some helpful notes and product suggestions for some of them.
For the cake, you’ll need:
- Oat milk – I like using this option because then this cake is nut-free (assuming your dairy-free butter choice is also nut free). That can be helpful for birthday parties where there may be children with nut allergies.
- Vinegar – Combining this with the oat milk will make a faux “buttermilk” that adds a little tang to the batter.
- Dairy-free butter – I’m partial to using Country Crock plant butter sticks made with avocado oil for this recipe. However, if you need to an option that’s specifically soy-free, I’d recommend the soy-free Earth Balance sticks instead. (The Country Crock sticks do not contain soy ingredients but do have a “may contains soy” warning on them).
- Granulated sugar
- Eggs
- Vanilla extract
- All-purpose flour
- Baking powder
- Salt
And for the frosting, you’ll need:
- Dairy-free butter – Just more of whatever you choose to make your cake with!
- Cocoa powder
- Powdered sugar
- Oat milk
Step by Step Instructions
Full recipe amounts and instructions are provided in the recipe card below, but here’s a helpful overview with some tips.
You want to start by preparing your cake pans. I recommend using two 9-inch cake pans, so that you’ll end up with a layered cake. But you can also use a 13×9 inch baking dish for more of a sheet cake.
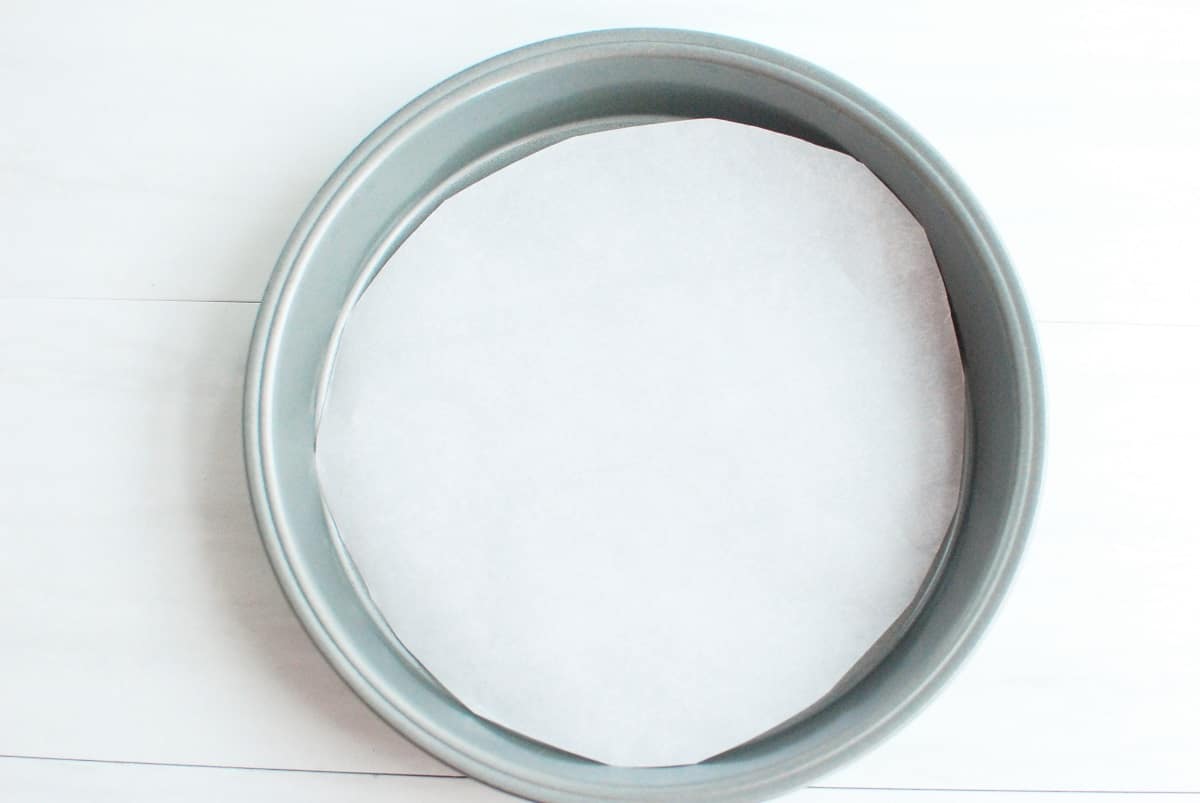
Make sure you add parchment paper to your pan, and then also grease it well. If you don’t, the cake will stick. I have had many times forgetting this and ended up with half the cake still stuck to the bottom of the pan. 😉
You can cut the parchment paper into a circle like this:
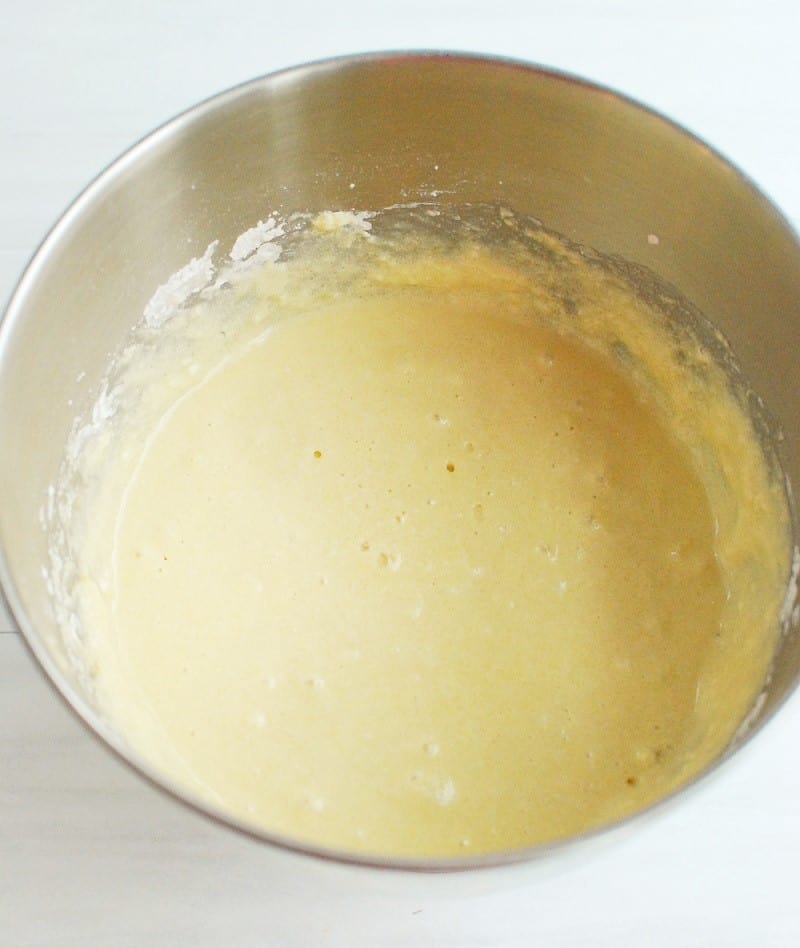
After that, prepare your batter. You’re going to first make a dairy-free “buttermilk” by combining the oat milk and vinegar. This is a trick you can use anytime you’re making a recipe that calls for buttermilk!
Set that aside for now. Next, cream together your dairy-free butter and sugar, then add the eggs and vanilla. Then mix in your flour, baking powder, and salt.
Conventional baking wisdom is to mix these together first in a separate bowl. But you can also just add them to the bowl over the liquid ingredients, stir them together on top, then fully incorporate them.
Add in that oat milk mixture and your batter is done! It’s not a great idea to eat some batter straight out of the bowl because of the raw eggs and raw flour, but man – it is tempting, haha.
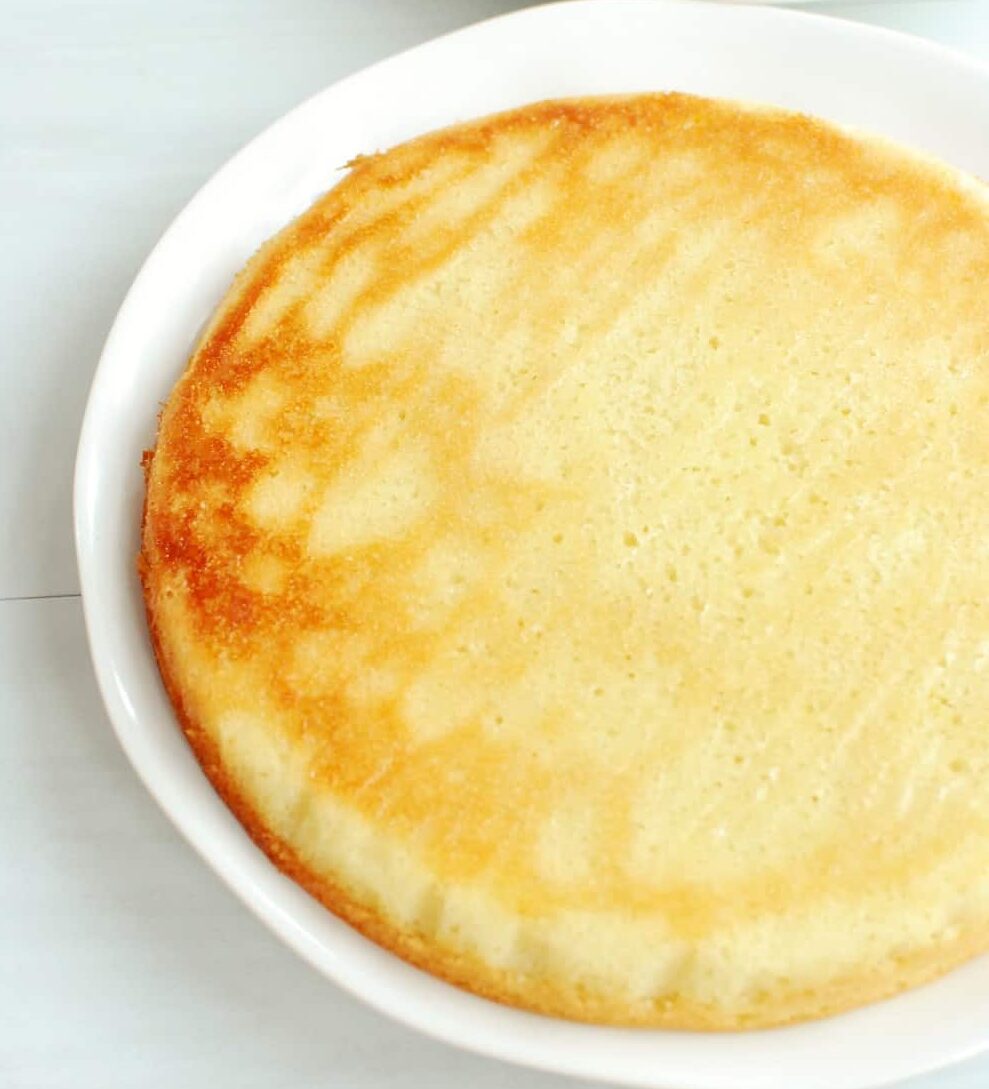
Pour that batter in your pans and bake your cakes.
When your cakes are done, you need to let them cool completely before you add the frosting. If you try to put the frosting on too early, it will melt and slide off.
As such, hold off on making the frosting until your cakes are almost cooled. The frosting is very simple, you’ll just combine those ingredients. I prefer using a stand mixer for this with the whisk attachment – but you can also use a hand mixer, of if you want to put in some elbow grease, a standard whisk.
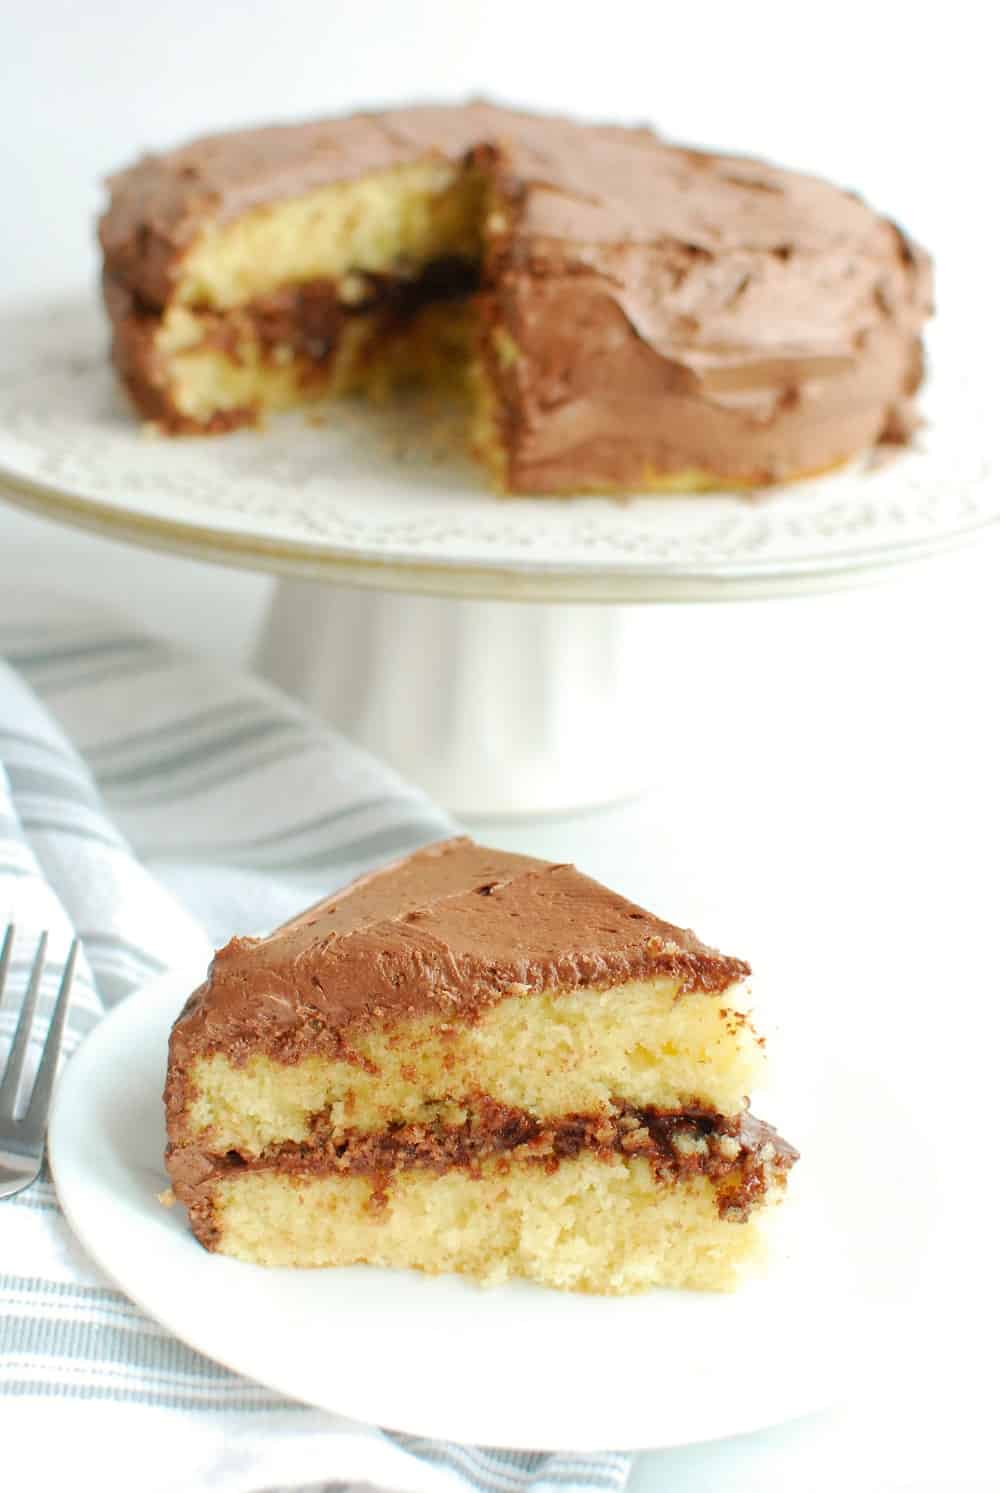
Frost one cake, layer the other, then continue frosting – and you’re done! It might seem like a lot of steps but it comes together very easily. And you’ll be so happy when you dig into it!
Recipe FAQ
Here are some common questions that may come up related to this recipe:
Why is yellow cake yellow? This question is courtesy of my six year old, but seemed to be worth answering! It’s yellow because of the egg yolks in the recipe, along with the faint yellow color of the butter. Egg yolks are really a must for the taste and color of this cake.
Are there store-bought dairy free yellow cake mixes? Sometimes, we just want a quick cake mix! Unfortunately, most popular store-bought brands contain milk ingredients in their yellow cake mix (including Betty Crocker and Pillsbury). However, at the time of publish, Duncan Hines Yellow Cake Mix and Annie’s Organic Classic Yellow Cake Mix are both free from dairy ingredients. Always double check labels at the time of purchase. And keep in mind long as the mix itself is dairy-free, you can always substitute your favorite dairy-free butter or oil if the package calls for that to be added.
How should you store this cake? You can store this at room temperature for up to 2-3 days. If you plan to keep it longer than that, store it in the refrigerator for up to 5-6 days.
Allergens in this recipe
*Disclaimer – Always double check ingredients to confirm a recipe meets your allergy needs. While I try to note potential allergens below, there is always the chance I may miss something or that manufacturer formulations may change.
As written, this recipe is dairy free.
Depending on your choice of dairy free butter, this recipe may contain soy or nuts. Choose a soy-free nut-free butter to eliminate these allergens. Soy-free Earth Balance works well for this.
This recipe does contain wheat/gluten, as well as eggs.
To make gluten free, you can try making this with a 1:1 gluten free flour substitute, and also ensuring your oat milk is gluten free. Because there are several eggs, I believe it will hold it’s structure fine with glute free flour – however I have not personally tried this substitution. If you do try, let us know in the comments!
Eggs are a key ingredient in this recipe, as the yolks add the richness and yellow color that is traditionally associated with yellow cake. As such, I don’t have recommended substitutions for that, but you can certainly find many vegan vanilla cake recipes that would also be delicious.
More Dairy Free Cake Recipes
Looking for other dairy free cakes that will be delicious? Try…
- Dairy free spice cake
- Dairy free chocolate cake with chocolate frosting
- Dairy free lemon pound cake
- Gluten free dairy free vanilla cake
I hope you enjoy this recipe! If you get a chance to try it, feel free to leave a recipe rating or comment below. And if you’re looking for more dairy free desserts, don’t hesitate to try our dairy free sugar cookie bars, dairy free chocolate cake, or apple pie.
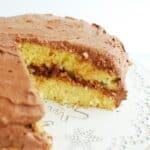
Dairy Free Yellow Cake with Chocolate Frosting
This dairy free yellow cake is perfectly sweet with a tender crumb, and tastes amazing topped with chocolate frosting!
Ingredients
For the cake:
- 1 cup oat milk
- 1 tbsp vinegar
- ¾ cup dairy-free butter softened
- 1 ¾ cup granulated sugar
- 3 large eggs
- 2 tsp vanilla extract
- 2 ¼ cup all-purpose flour
- 2 ½ tsp baking powder
- ½ tsp salt
For the frosting:
- ½ cup dairy-free butter softened
- ½ cup cocoa powder
- 2 ¾ cup powdered sugar
- ¼ cup oat milk plus more as needed
Instructions
-
Preheat the oven to 350 degrees. Line two 9-inch cake pans with parchment paper, then grease the pan. (You can also make this in one 13×9 inch pan instead).
-
Fill a liquid measuring cup with the oat milk. Add the vinegar and set aside for a few minutes.
-
In a large mixing bowl, cream together the dairy-free butter and granulated sugar until light and fluffy.
-
Add in the eggs and vanilla extract, and mix well.
-
Add the flour, baking powder, and salt to the bowl. Stir together a few times, then pour in the oat milk mixture and continue stirring until combined.
-
Pour the batter into the cake pans, then bake at 350 degrees for 28-32 minutes, or until a toothpick pulls out from the center clean.
-
Remove the cakes from the oven and let cool in the pan for about 10 minutes, then remove and place on a cooling rack.
-
While the cake is cooling, prepare the frosting. Combine the dairy-free butter, cocoa powder, powdered sugar, and ¼ cup of oat milk in a large mixing bowl. Using a stand mixer with a whisk attachment or a hand mixer, combine the ingredients together until a light, fluffy frosting forms. Add additional oat milk by the tablespoon as needed to achieve the right texture for your frosting.
-
When the cake is completely cooled, frost one cake and then layer the other cake on top. Add frosting to the tops and sides. Enjoy!
Recipe Notes
This cake yields 12 regular size slices or 16 small slices. The nutrition analysis below is based on 12 servings. If serving in 16 slices instead, the calories would be reduced to 386 per slice.
Nutrition analysis (approximate per slice): 516 calories, 20.5 g fat, 9 g saturated fat, 415 mg sodium, 79.5 g carbohydrate, 2.5 g fiber, 56 g sugar, 5 g protein, Vitamin D: 3%, Calcium: 8%, Iron: 11%, Potassium: 2%
Share: What’s your favorite kind of dairy free cake?
Please pin this post to share with others!

This cake was delish!! My husband recently switched to a dairy free diet and this was such a yummy treat for us both! Now I’m back a little over a month after making it the first time because we were both craving it again, yum! Thanks!
I’m so glad you both enjoyed it! Yellow cake with chocolate frosting was one of my FAV cakes as a kid, and still is as an adult – so we definitely love this around our house too 🙂
Has anyone used Almond Milk for this?
You can definitely use almond milk instead of oat milk. 🙂
How long would you suggest baking for in a 9×13 pan?
I don’t have the time written down for the 9×13 pan but I would start checking it at the same time frame listed in the recipe for the two 9-inch rounds. Two 9-inch rounds equates to 128 square inches of surface area, a 9×13 is 117 square inches – so I think time wise should be fairly similar. But it’s definitely ready when a toothpick pulls clean from the center. 🙂