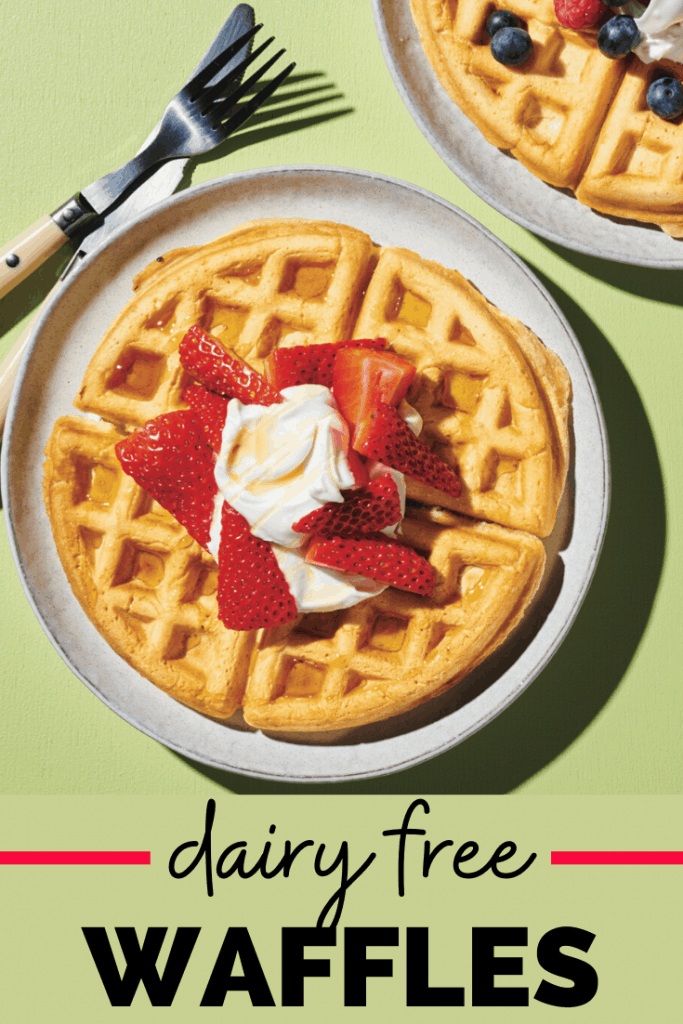
When a sweet craving strikes at breakfast, break out the Belgian waffle iron and whip up these dairy free waffles. They’re delicious: slightly sweet with that fluffy texture inside and crisp texture on the outside. Your whole family will love this breakfast treat!
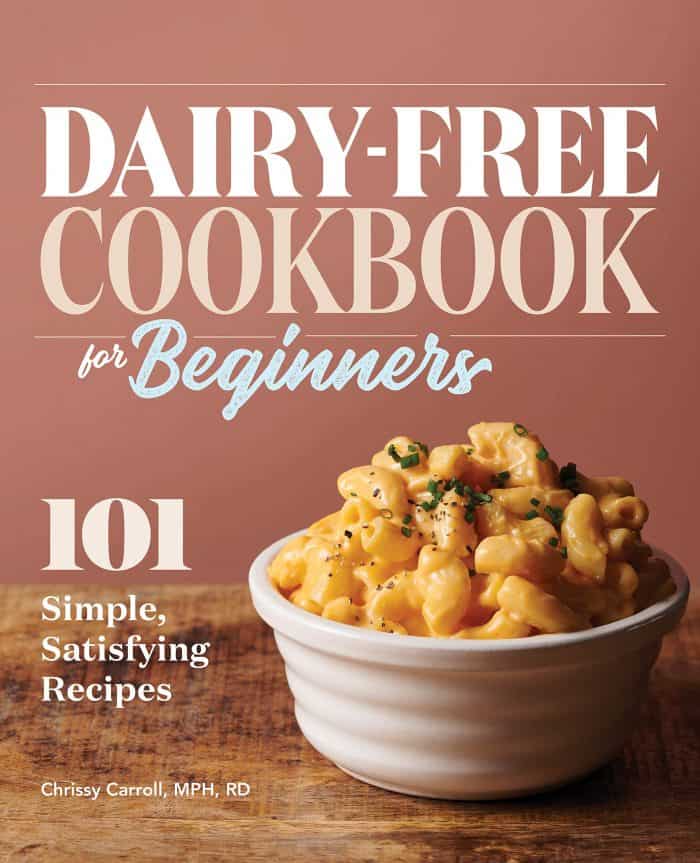
This recipe comes straight outta my newly released cookbook, a Dairy Free Cookbook for Beginners – be sure to grab your copy for the other 100 awesome recipes in the book!
Disclosure: This post contains Amazon affiliate links. As an affiliate, I earn a commission on qualifying purchases.
Disclaimer: I try to note potential allergens in all recipes and product recommendations – but as you know, manufacturers can change ingredient formulations or I may miss something. Always double check ingredients and labels prior to consuming if you have an allergy.
How to make waffles
If you’ve never made waffles before, you might be surprised at just how easy the are to cook up!
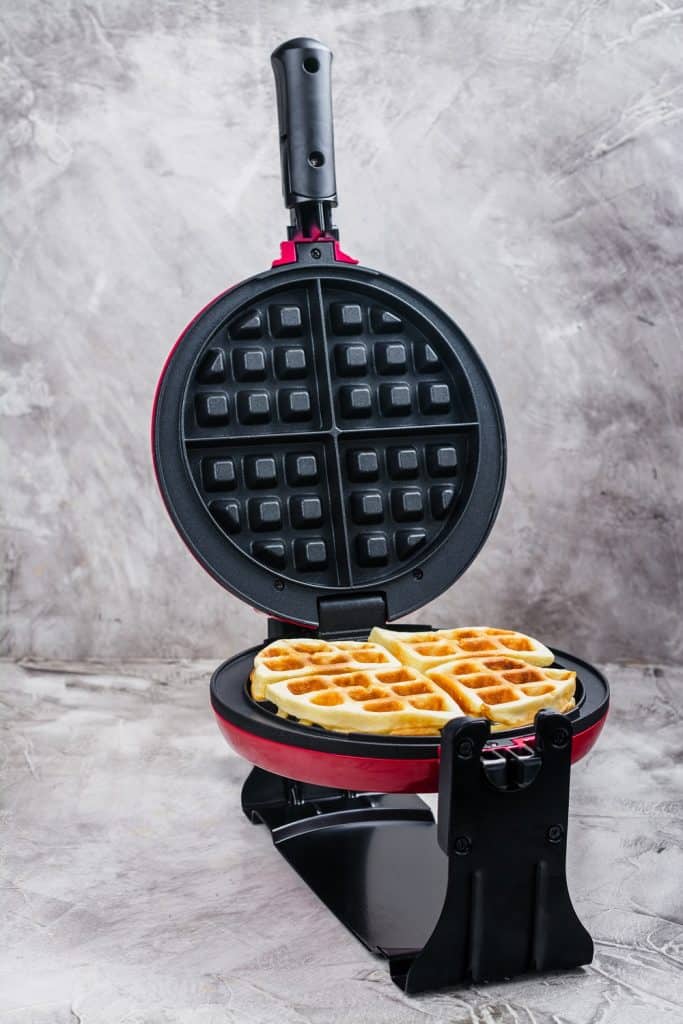
Of course, you’ll definitely need a key piece of equipment – a waffle maker. If you don’t have one yet, you’ll want to order one. The proportions of ingredients in this recipe work best with a Belgian waffle maker. It makes those big ‘ol waffles that you’ll love! (If you’re looking for a waffle recipe that’s geared towards a waffle maker that creates smaller, thinner waffles – like a DASH waffle maker – definitely use this cinnamon waffle recipe instead.)
Alright, once you’ve got your waffle maker, you’ll just mix up your ingredients for the batter. You’ll want to start with the almond milk and lemon juice, and let that sit for 5 minutes. Essentially, this creates a homemade “buttermilk”.
From there, you’ll add in your eggs, oil, sugar, and vanilla. Then fold in your dry ingredients: the flour, baking powder, and salt.
Now just pour the batter in your waffle iron and cook ‘em up! Most waffle irons have a light that indicates when the cooking time is up, but if yours doesn’t, it should generally take about 3 to 5 minutes.
Quick tip – if you want to retain crispiness after cooking each waffle (while you make the rest of the batch) keep them in an oven set to 200°F until they’re all prepared.
After they’re done, you can top them off with any of your favorite toppings!
Modifying other recipes
As an aside, I hope you’ll try this recipe – but if you don’t, just know you can modify most regular waffle recipes to be dairy free with just a few simple changes. Typically, all you need to do is sub out the milk for a milk alternative, and any butter for vegan butter or oil. Those are usually the only dairy ingredients you’ll find in a waffle recipe. So test away with any recipes you find that you might enjoy!
Recipe FAQ
Here are some common questions you might come across as you prepare these waffles:
- My waffles aren’t getting crisp on the outside – what can I do? Generally, I find these crisp up on the outside just right. First, check the temperature settings on your waffle iron. Most have a dial that adjusts the heat. Yours may just need to be turned up a smidge to adjust the iron to be hotter and create that crisp outside. If that doesn’t work, you can pop all the cooked waffles in the oven at 350 degrees for a few minutes until the crisp up.
- Can you freeze dairy free waffles? Yes! Save time by prepping a double batch of these on the weekend and then freezing the cooled leftovers in freezer-safe bags. Reheat one (or more) in an oven or toaster oven at 350°F for about 10 minutes, or until warm and crisp.
- What are the best toppings? I think vegan butter and 100% pure maple syrup are awesome; they’re always a classic choice. You can also try berries and dairy-free whipped cream (see below), homemade banana “nice cream” and dairy free caramel, nut butter and fruit, or even making it savory by topping it with eggs and bacon.
Dairy free whipped cream toppings
I generally veer towards vegan butter and pure maple syrup on top of my dairy free waffles, but if you’re more of a fruit and whipped cream kinda person – I’ve got you covered.
These days, you can find dairy-free whipped cream options at the grocery store. My personal favorite is the frozen Cocowhip, which is like the dairy-free version of Cool Whip (and dairy and soy free at the time of publish). It’s so good!
We also like Redi-Whip Non-Dairy Toppings (which are dairy-free and soy-free at the time of publish); that’s the canister-type that you store in your fridge.
Or, you can also make your own coconut whipped cream. You only need three ingredients:
- 1 can of coconut milk
- 1/2 tsp vanilla
- 1-6 tbsp of powdered sugar
You’ll need to think ahead a bit, and put a can of coconut milk in the fridge for at least a day or two in advance. Then you’ll scoop out the cream that solidifies on top, and use a whisk attachment on a mixer to whip it up with the vanilla. Mix in powdered sugar according to your taste preferences, and then you can add a dollop of this on top of your waffles.
Allergens in this recipe
As written, this recipe is dairy free and soy free.
It does contain wheat (gluten), eggs, and tree nuts. You can easily modify this to be nut-free by using oat milk rather than almond milk, and I have made that change many times.
I haven’t tested it, but I’d imagine you can also make it gluten free by using a 1:1 all purpose gluten free flour substitute.
I do find the eggs to be necessary for this particular recipe, but I will be sure to post an egg-free waffle recipe in the future for those who need one!
I hope you enjoy this recipe as much as my family does. We actually at these on Christmas last year – we did fried chicken and waffles, and it was spectacular. If you get a chance to try it, please do leave a recipe rating or comment and let me know your thoughts.

Dairy Free Waffles
These dairy free waffles are the perfect way to start your morning - especially when topped with pure maple syrup, or some dairy free whipped cream and sliced strawberries!
Ingredients
- 1 1/2 cups unsweetened almond milk or oat milk
- 1 1/2 tbsp fresh lemon juice
- 2 large eggs
- 3 tbsp canola oil or any oil of your choice
- 2 tbsp sugar
- 1 tsp vanilla extract
- 1 3/4 cups all-purpose flour
- 2 tsp baking powder
- 1/2 tsp salt
Instructions
-
In a liquid measuring cup, combine the almond milk and lemon juice and let sit for 5 minutes.
-
In a large bowl, whisk together the eggs, oil, sugar, and vanilla. Add the almond milk mixture and whisk to make sure everything is well combined. Stir in the flour, baking powder, and salt.
-
Heat a Belgian waffle iron. When hot, pour in about 3/4 cup of batter, then close the iron. Cook according to the manufacturer’s directions (most have a light that turns on when done), usually 3 to 5 minutes each, or until the waffles are golden brown and crisp.
Recipe Notes
Nutrition analysis (approximate per serving): Calories: 363; Total fat: 14g; Carbohydrates: 49g; Fiber: 2g; Protein: 9g; Sugar: 6.5g


Oh my gosh! These are absolutely delicious. I made them as written and then added some chocolate chips to some. Me and my 8 year old devoured them, and I’m looking forward to the leftovers.
I’m so glad you enjoyed them! Happy your kiddo was a fan too. 🙂
My kids and I did this for Mother’s Day, and my wife loved them and so did the kids. Good instructions – this was the first time I have cooked anything, and it wasn’t very difficult.
I’m so glad you were able to treat your wife to such a lovely Mother’s Day breakfast! 🙂 Glad you all enjoyed them.
Do you think you can prepare the mixture the night before and leave in the fridge?
You can prepare it the night before, just keep in mind there may be changes in the fluffiness as baking powder starts to react when initially mixed into the batter, so you lose some of the leavening properties. Double acting baking powder prevents this to a degree but you still make notice slight changes. Hope that helps! 🙂