
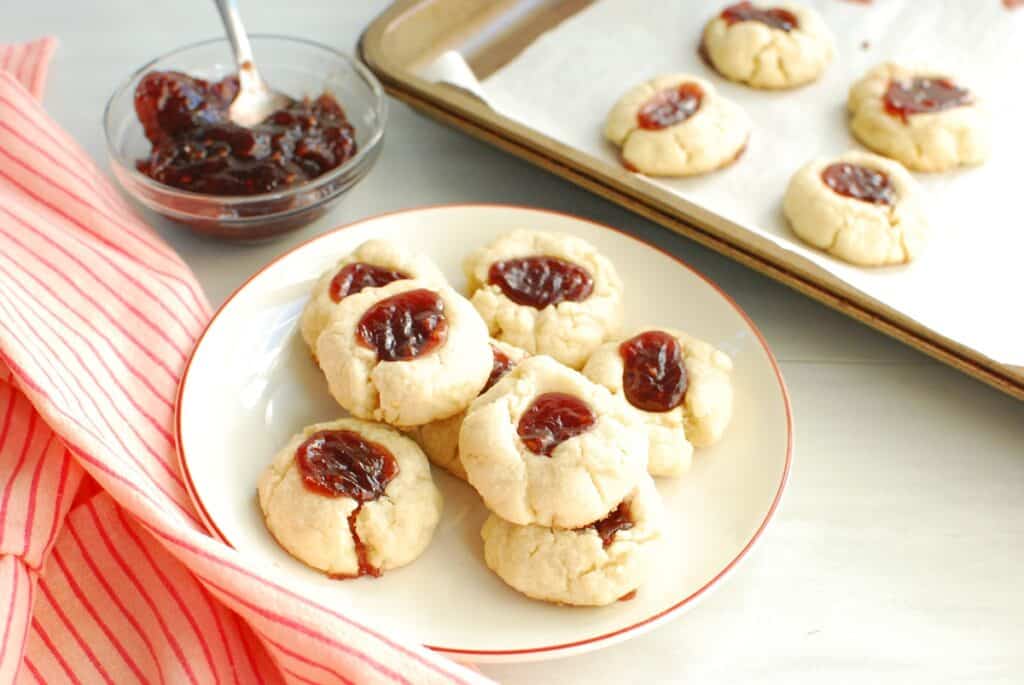
These dairy free thumbprint cookies are perfect for the holidays – or anytime! This recipe is proof that you don’t need butter or milk to create mouthwatering treats. You’ll love the soft, buttery texture paired with the luscious, fruity center. And as a bonus, you only need seven ingredients to make this simple recipe!
Ingredient Notes
Here’s a photo of all the ingredients you’ll need, along with selected ingredient notes:
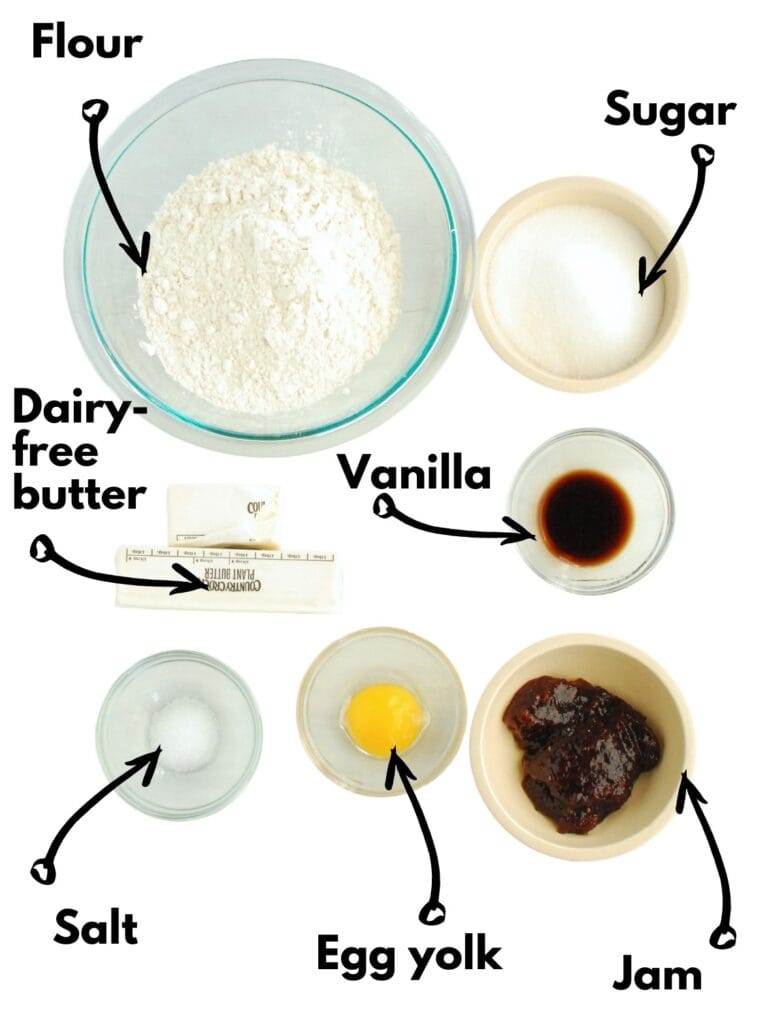
- Dairy-free butter – I highly recommend Country Crock plant butter sticks with avocado oil; they work really well in baking. You can also use the same sticks in the olive oil or almond oil versions, I just prefer the avocado oil as it’s a more neutral flavor. If you can find these, you could also use Earth Balance sticks.
- Fruit jam – You can use whatever flavor you prefer – strawberry, raspberry, blackberry, etc. I like using at triple berry jam that my local grocery store sells. But really anything will work! A quick tip though – double check that the jam is dairy free. Almost all commercial grocery store versions are, but if you purchase it at a small local shop or farmers market, sometimes butter is used as a defoaming agent when making jams.
Instructions
You’ll find the full recipe amounts and instructions in the recipe card below, but here’s a helpful overview with photos and tips.
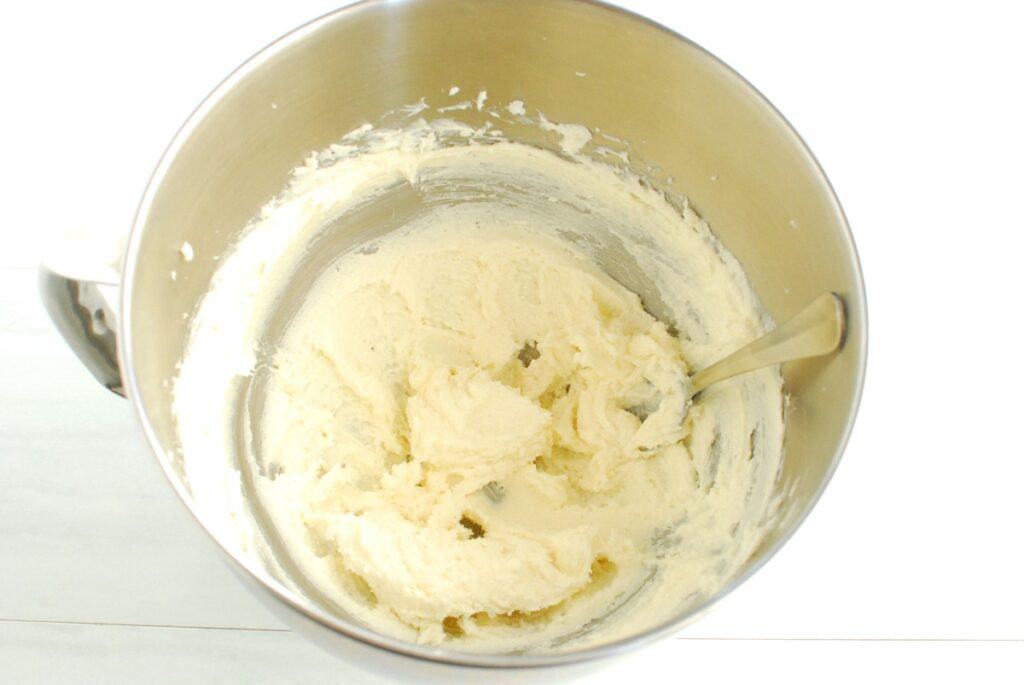
Start by creaming together the dairy-free butter and sugar until light and fluffy. This is done easiest using the paddle attachment on a stand mixer, but a hand mixer or good ol’ fashioned elbow grease will also work.
Add the egg yolk and vanilla, and mix well.
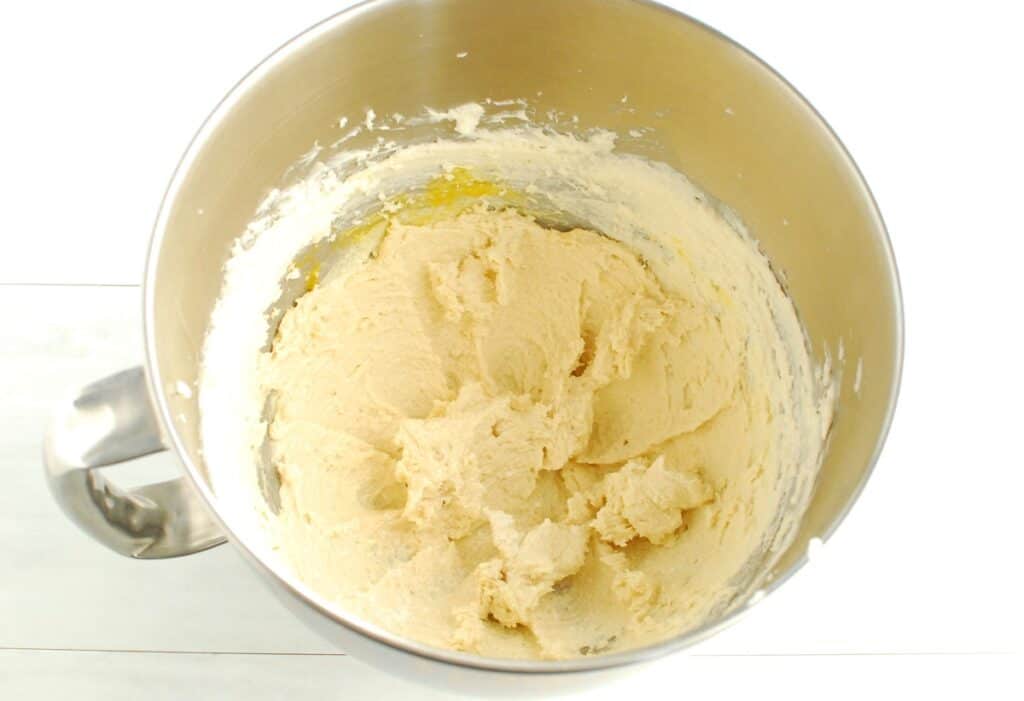
Add the flour and salt, and stir together. While normally I do mix the dry ingredients separately, this recipe tends to work fine by just adding them to the top of the wet ingredients and giving everything a good stir.
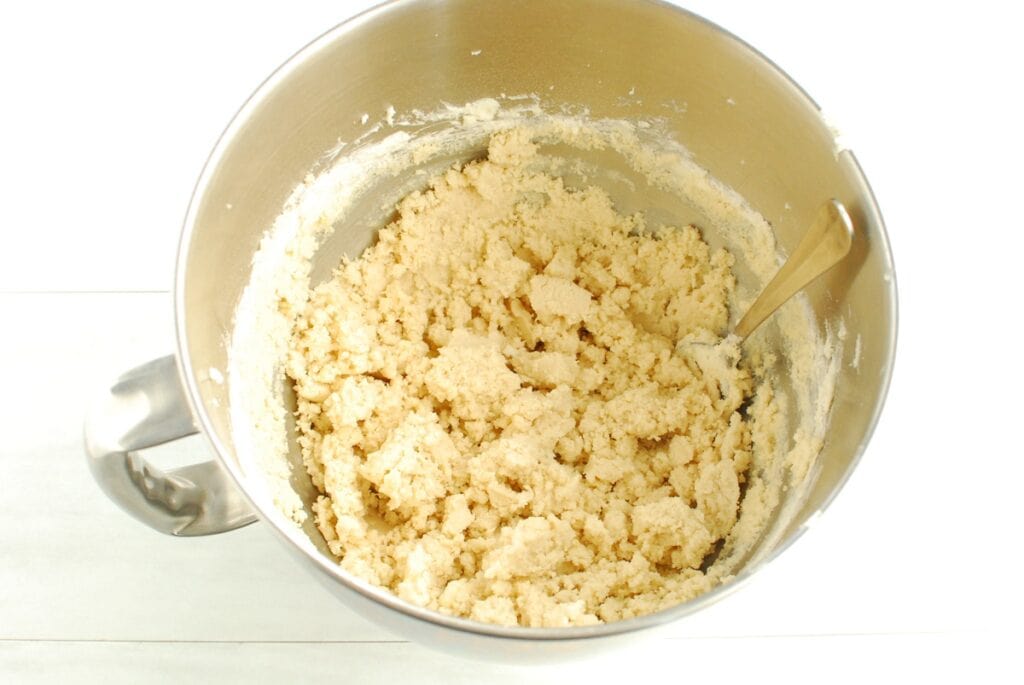
At first, everything may look a bit dry, but as you continue to mix, the dough will come together into a crumbly mixture. It is normal for this dough to be crumbly, like the photo below. As you work with it and roll it into balls, it’ll come together.
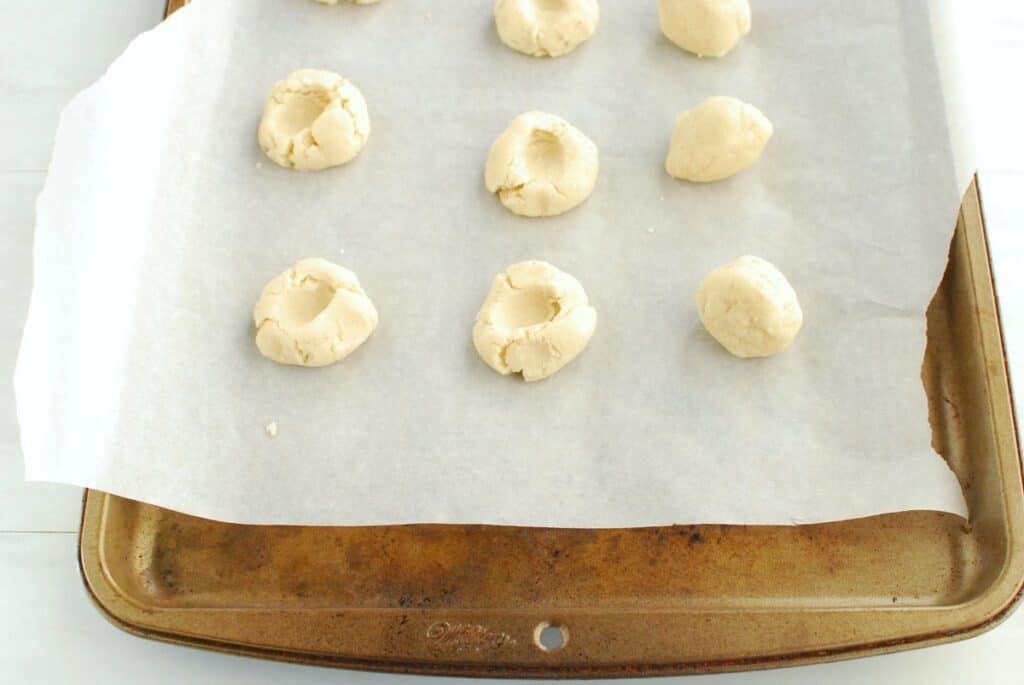
Scoop out spoonfuls of dough and roll into tablespoon-sized balls using your hands. The dough should make 24 at this size.
Place them on a parchment-lined baking sheet, then press a thumb or back of a teaspoon into the center.
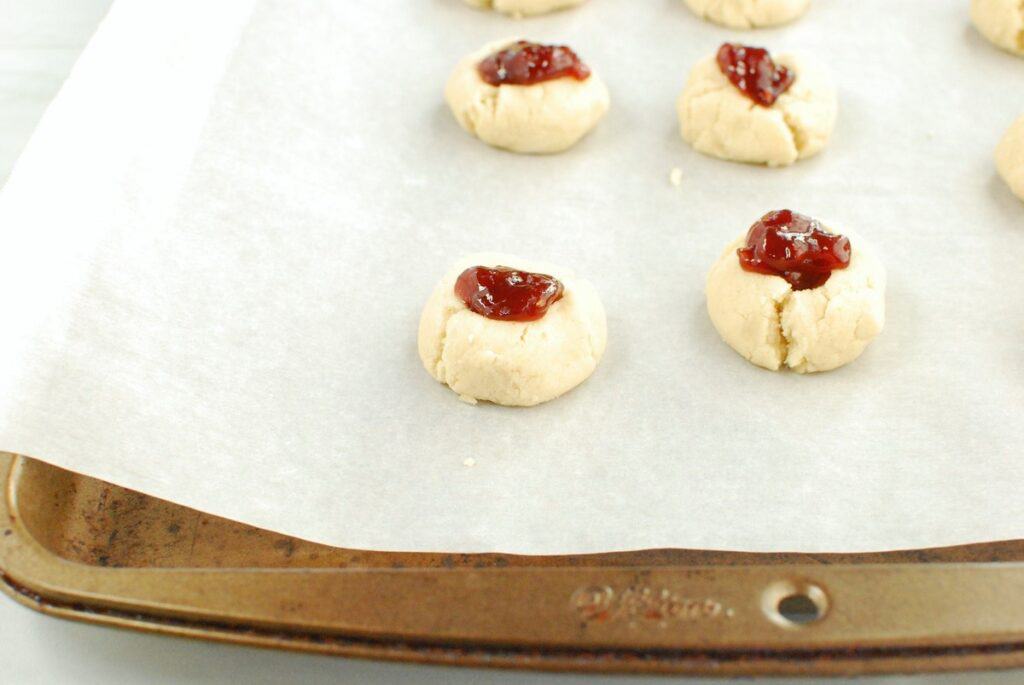
Spoon the jam into the thumbprints.
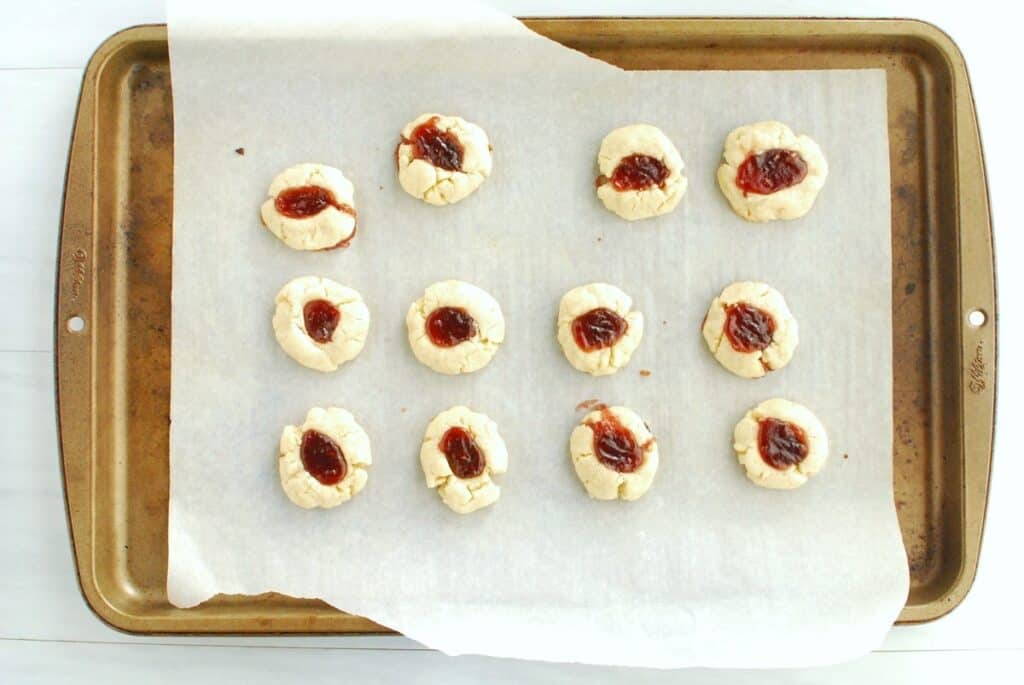
Then pop those baking sheets in the oven at 375 degrees for about 10-12 minutes.
Once they’re finished baking, let them cool completely on the baking sheet, then enjoy! You’ll see that some of the edges of the cookies may crack a little; this is normal. They may not look as pretty but will be some of the most delicious thumbprint cookies you’ve ever tasted!
Recipe FAQ
Here are some common questions that may come up as you’re preparing this recipe:
Store in an airtight container at room temperature for up to 3 days. If you plan to have them around longer than that, freeze to enjoy later.
Yes. Feel free to freeze baked cookies after they have cooled for several hours. Freeze in an airtight container or ziptop bag. Use within 3 months for best quality. When ready to enjoy, allow to thaw at room temperature.
Yes. Prepare the dough as directed, through shaping the cookies with the thumbprint (but don’t add the jam yet). Place on a baking sheet in the freezer for 1-2 hours to flash freeze, then transfer to a zip top bag or airtight container. When ready to bake, you can add the jam and bake from frozen. You may need to add an extra couple minutes to the cooking time.
Allergens in this Recipe
Disclaimer: Always double check ingredients and labels yourself prior to making a recipe. While I try to check all ingredients for allergens, there’s always the chance I may miss something, or manufacturer formulations can change.
As written, this recipe is dairy free and peanut free.
This recipe might contain soy or tree nuts depending on your choice of plant-based butter. If you need to avoid those, simply choose a dairy free butter that fits your needs. (Note that while Country Crock plant butter sticks used to be soy-free, they now contain soy. If you need to avoid soy, look for soy-free Earth Balance instead).
This recipe does contain wheat/gluten (in the flour) and eggs. I have not tested substitutions for this recipe, so I cannot confirm they will work.
More Dairy Free Cookie Recipes
If you’re looking for more dairy free cookie recipes, be sure to give one of these a try:
- Dairy free double chocolate cookies
- Dairy free white chocolate cranberry cookies
- Coconut oil chocolate chip cookies
- Dairy free lemon cookies
- Dairy free pumpkin cookies with “cream cheese” frosting
- Dairy free gingerbread cookies
I hope you enjoy these dairy free thumbprint cookies! If you get a chance to try them, feel free to leave a recipe rating or comment below.
Dairy Free Thumbprint Cookies
Ingredients
- ¾ cup dairy-free butter, softened (1 ½ sticks; recommend Country Crock plant butter sticks with avocado oil)
- ⅔ cup granulated sugar
- 1 large egg yolk
- 1 teaspoon vanilla extract
- 1 ¾ cup all-purpose flour
- ¼ teaspoon salt
- ⅓ cup fruit jam (whatever flavor you prefer; double check to ensure dairy-free)
Instructions
-
Preheat the oven to 375 degrees F. Line two baking sheets with parchment paper.
-
In a large mixing bowl, cream together the dairy-free butter and sugar until light and fluffy.
-
Add the egg yolk and vanilla and mix well.
-
Add the flour and salt and mix until well combined. The dough may seem crumbly; this is normal – it will come together when you roll it into balls.
-
Scoop the dough and roll into tablespoon-sized balls using your hands. Place on your parchment-lined baking sheets. Gently press a thumb or the back of a teaspoon into the center of each. Spoon jam into each thumbprint.
-
Bake at 375 degrees F for 10-12 minutes, until edges are just light golden brown. Cool completely on the baking sheet, then enjoy.
Recipe Notes
- Almost all commercial grocery store jams are dairy free, but if you purchase it at a small local shop or farmers market, sometimes butter is used as a defoaming agent when making jams. Just double check prior to using.
- These cookies may crack a little during baking – but they will taste delicious!
Nutrition analysis (approximate per cookie): 114 calories, 6 g fat, 2.5 g saturated fat, 85 mg sodium, 14.5 g carbohydrate, 0.3 g fiber, 7 g sugar, 1 g protein, Vitamin D: 0%, Calcium: 0%, Iron: 2%, Potassium: 0%
Feel free to pin this post to save for later!

can you make the dough and refrigerate overnight before shaping and baking ?
Yep, that should work!