
Need to satisfy a chocolate craving? Look no further than this delicious dairy free chocolate pie! With a creamy, silky texture, you’ll love this easy-to-make dessert that fits your dietary needs.
Ingredients
Here’s a photo of everything you’ll need to make this recipe, along with selected ingredient notes and product recommendations:
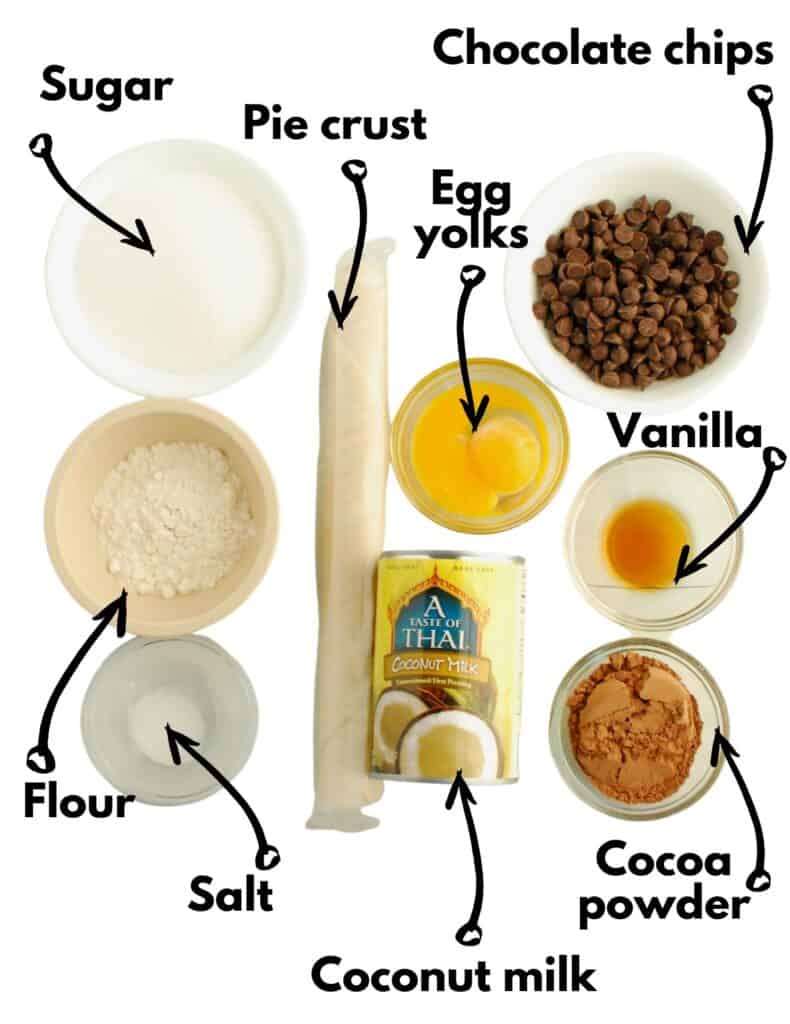
- Pie crust – Many refrigerated pie crust options at the supermarket are surprisingly dairy free. I typically use Pillsbury Refrigerated Pie Crust, and Mrs. Smith’s Deep Dish Frozen Pie Crust is also dairy-free (at the time of purchase – always check labels!). A store-bought crust helps this recipe come together quickly, but you can also make a dairy free homemade pie crust if you prefer to whip one up from scratch.
- Chocolate chips – Be sure to check for a dairy-free brand. I personally love Enjoy Life and the Nestle Allergen Free Morsels. You can use either semi-sweet or dark chocolate for this recipe. Dark will have a richer punch to the recipe; semi-sweet will be a bit sweeter and more of a classic chocolate pie flavor.
- Canned coconut milk – You need the full fat version in a can. It can’t be the “lite” canned version or the refrigerated coconut milk in the carton; neither of those will set up properly in this recipe. Lately I’ve been having the best luck with “A Taste of Thai” coconut milk as it seems to be perfectly creamy (the last few cans of Goya coconut milk I’ve gotten have been quite grainy).
Instructions
This recipe is very easy to make – the toughest part is simply waiting for it to set in the fridge! You’ll find the full amounts and instructions in the recipe card at the bottom of the post, but here’s a helpful overview with photos.
Start by baking your unfilled pie crust according to package directions. If you can’t find directions, usually 10-12 minutes at 450 degrees F does the trick.
Take that out of the oven and let cool while you work on the remainder of the steps.
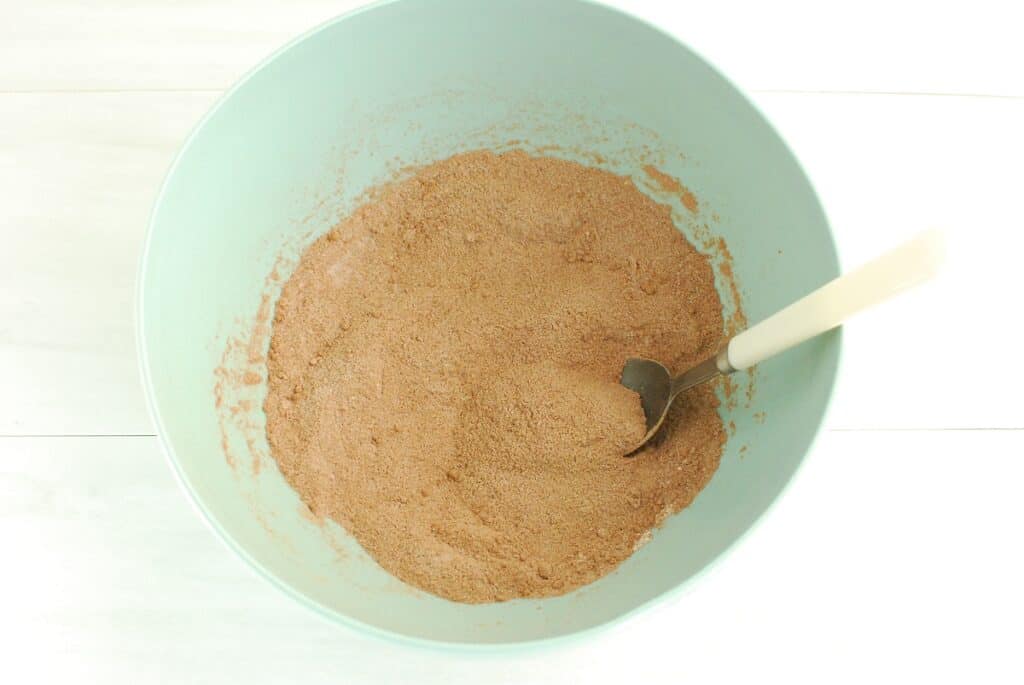
In a large bowl, combine the sugar, cocoa powder, flour, and salt.
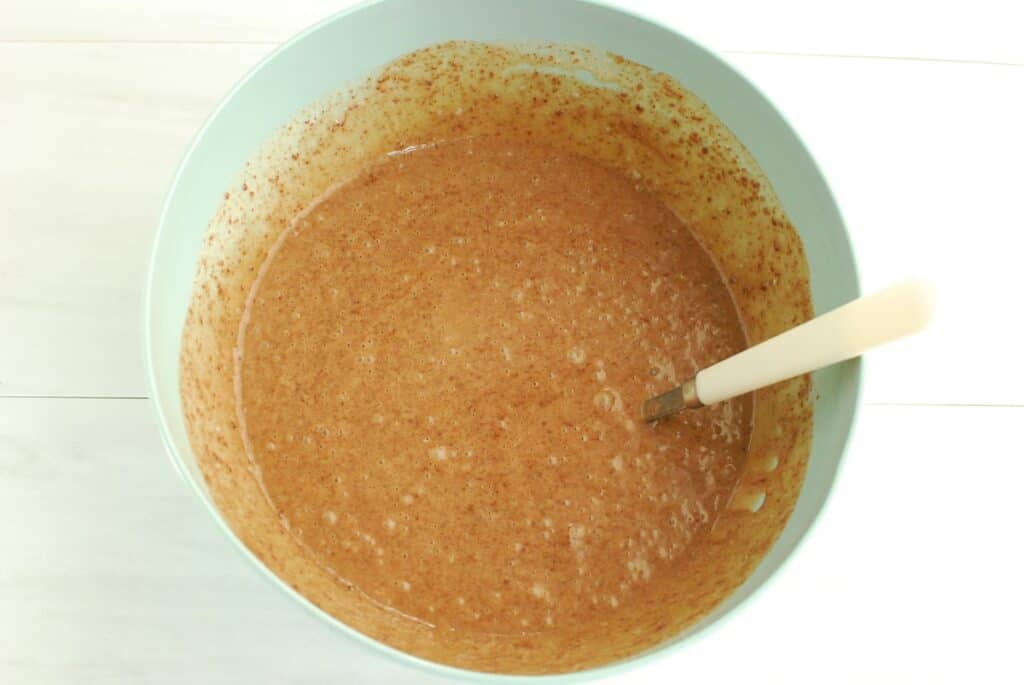
Add the coconut milk and egg yolks and whisk together until well combined.
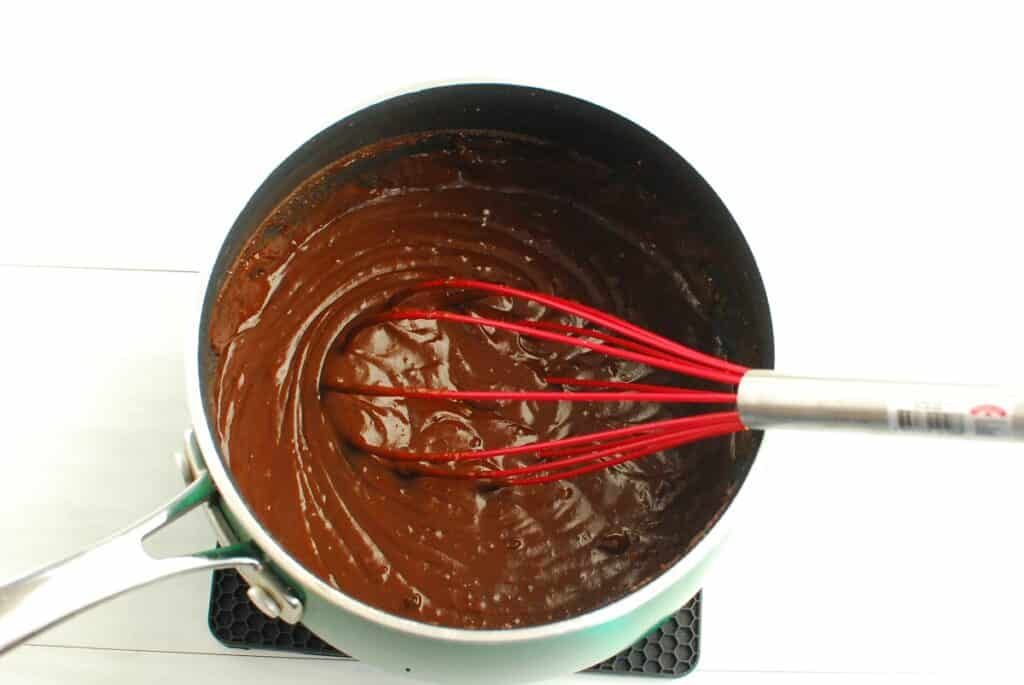
Pour the mixture into a saucepan, and heat over medium-low heat. Whisk consistently while heating, until the mixture thickens up.
Once thickened, add the chocolate chips and stir until melted. Remove from heat and stir in the vanilla.
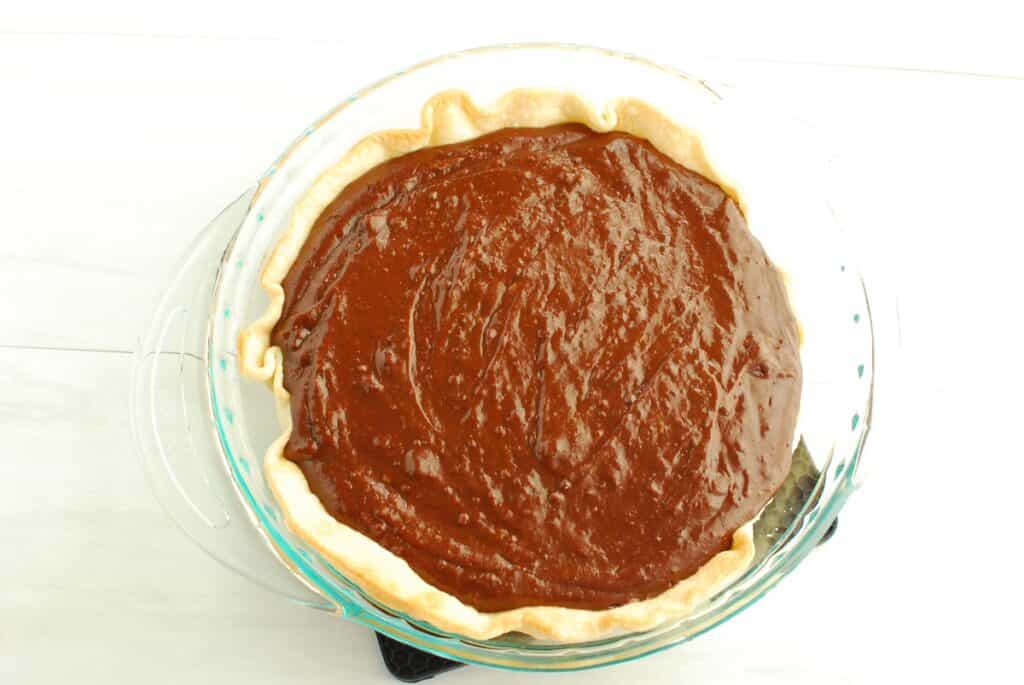
Pour the mixture into the baked pie crust.
Let that chill in the fridge for at least 4 hours.
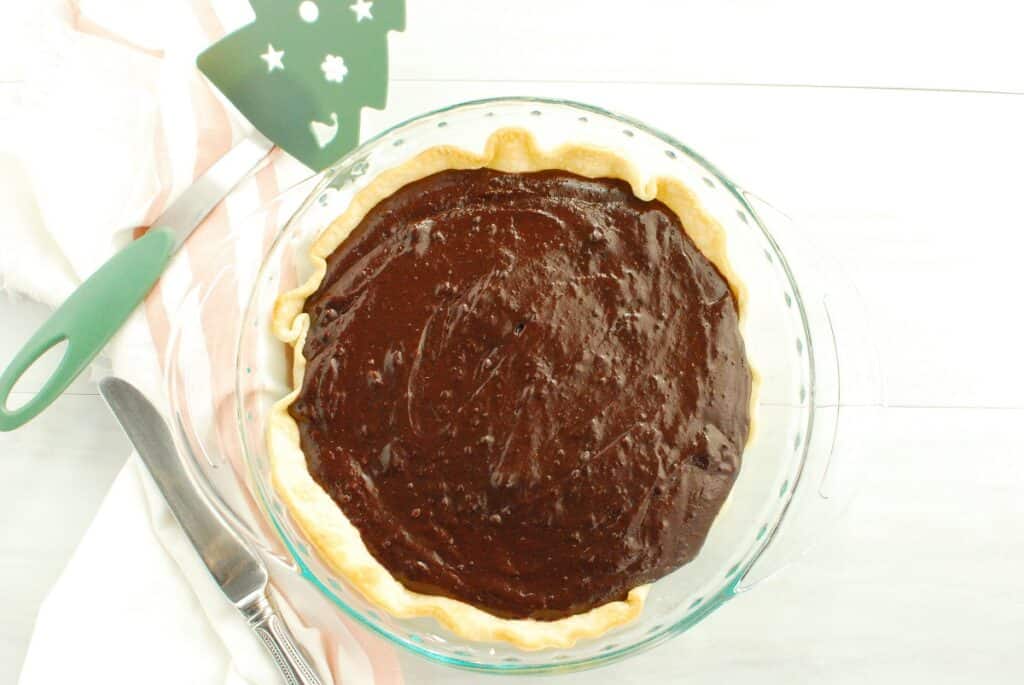
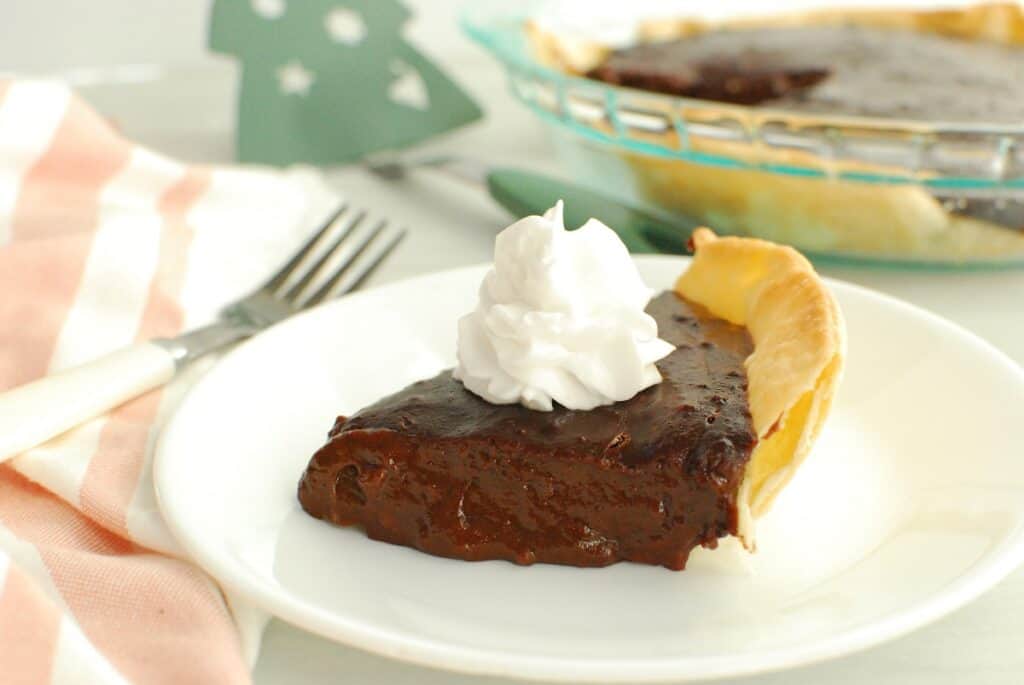
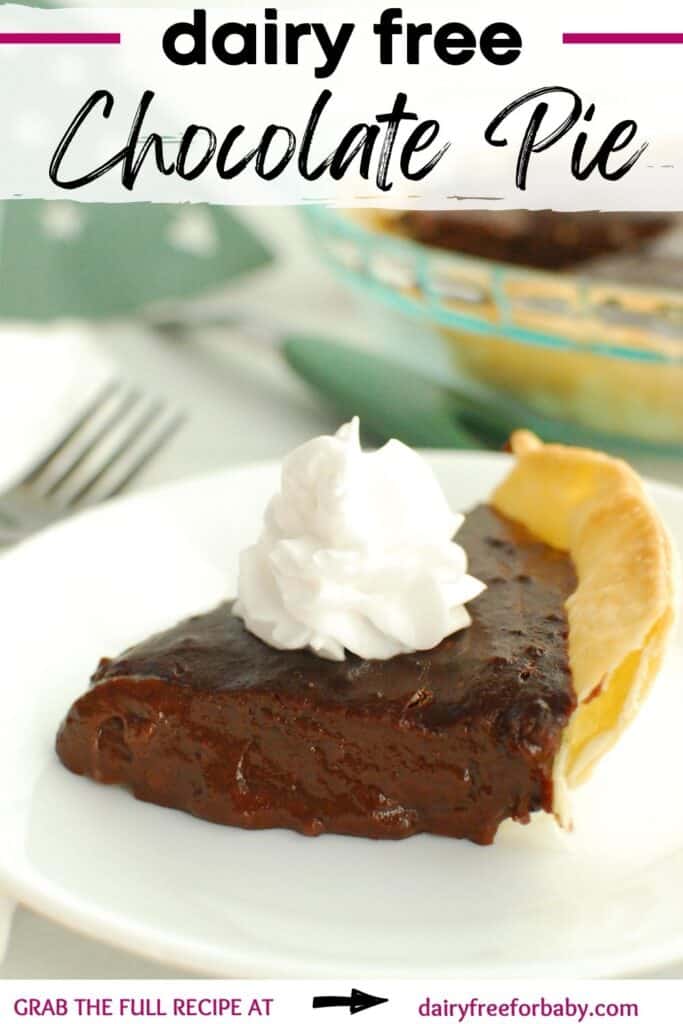
If you try to dig in earlier, it’s edible, but the filling will still be soft. You can see in some of my photos here that I pulled it a little too early as the chocolate filling is spilling over the edge a bit. Whoops, I was impatient, haha.
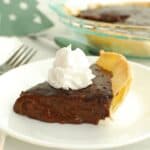
Once ready, feel free to top it with dairy-free whipped cream and a sprinkle of sea salt if you’d like. I used Gay Lea dairy-free whipped cream which I got from ALDI. Reddi Whip also makes two dairy-free whipped toppings (an almond-forward version and a coconut-forward version) which are available at most major grocery stores.
Recipe FAQ
Here are some common questions that may come up as you prepare this recipe:
Store chocolate pie in the refrigerator for up to 4 days. Enjoy cold, straight from the fridge.
After the filling sets in the fridge, the texture will be creamy but firm – like very thick pudding. It should be ready after a few hours of chilling in the fridge.
This can occur for several reasons: 1) You did not cook the filling long enough for the eggs to cook through and thicken the mixture, 2) you did not correctly measure the thickening agent (i.e. flour), 3) you used a light milk alternative rather than full fat coconut milk, and/or 4) you did not allow the filling to chill for enough time. Try troubleshooting each of those for the right pie texture!
Allergens in this Recipe
Disclaimer: Always double check ingredients and labels yourself prior to making a recipe. While I try to check all ingredients for allergens, there’s always the chance I may miss something, or manufacturer formulations can change.
As written, this recipe is dairy free.
This recipe does contain eggs and gluten/wheat. I have not tested substitutions for these ingredients.
Depending on your choice of pie crust, chocolate chips, and optional whipped cream topping, this recipe may also contain soy or nuts. You can choose products without these ingredients to suit your dietary needs.
More Dairy Free Chocolate Desserts
If you love a good chocolate dessert, here are a few other options you might enjoy:
- Dairy free chocolate cake (with chocolate frosting!)
- Coconut oil chocolate chip cookies
- Chocolate potato chip bark
- Dairy free lunch lady brownies
- Dairy-free chocolate cookies with white chocolate chips
- Dairy free hot chocolate (this stuff is like drinkable brownie batter!)
I hope you love this dairy free chocolate pie! It’s definitely a hit at my house. If you get a chance to try it, feel free to leave a recipe rating or comment below.
Dairy Free Chocolate Pie
Ingredients
For the pie:
- 1 dairy-free pie crust
- ¾ cup granulated sugar
- ¼ cup unsweetened cocoa powder
- 5 tbsp all-purpose flour
- ¼ tsp salt
- 13.5 ounce can full-fat coconut milk
- 2 large egg yolks
- ½ cup dairy-free chocolate chips
- 1 tsp vanilla extract
Optional for topping:
- Dairy free whipped cream
- Sea salt
Instructions
-
Bake the pie crust (unfilled) according to package directions and set aside.
-
While the pie crust is cooling, prepare the chocolate filling. In a large bowl, whisk together the sugar, cocoa powder, flour, and salt.
-
Add the coconut milk and egg yolks, and whisk until well combined.
-
Pour the mixture into a medium saucepan, and heat on the stovetop over medium-low heat. Heat, stirring or whisking constantly, until the mixture has thickened, about 5 minutes.
-
Add the chocolate chips and stir until melted. Remove from heat and stir in the vanilla.
-
Pour the filling into the baked pie crust. Set in the refrigerator for at least 4 hours. When ready to serve, feel free to add optional toppings of dairy free whipped cream and a sprinkle of sea salt.
Recipe Notes
- If your package directions do not specify how to bake an unfilled pie crust, typically baking it at 450 degrees for 10-12 minutes will suffice. Use a fork to poke a few holes in the bottom to vent the crust so it doesn’t puff out on the bottom.
- While you can eat the pie after chilling for only an hour or two, the texture will still be a bit soft. I recommend chilling at least 4 hours for the best texture.
Nutrition analysis (approximate per slice): 362 calories, 20 g fat, 13 g saturated fat, 210 mg sodium, 47.5 g carbohydrate, 1.5 g fiber, 28.5 g sugar, 3.5 g protein, Vitamin D: 1%, Calcium: 1%, Iron: 9%, Potassium: 3%
Share: What’s your favorite dairy free dessert? If you tried this chocolate pie, what did you think?
Feel free to pin this post to save for later!
Hi, This pie sounds yummy! I was wondering if instead of the chocolate chips, can l use finely chopped chocolate such as Lindt or Ghirardelli as that’s what l have right now. Thanks very much 🙂
Hi Jo — Apologies on the delay in responding! Yes, that should work well!