
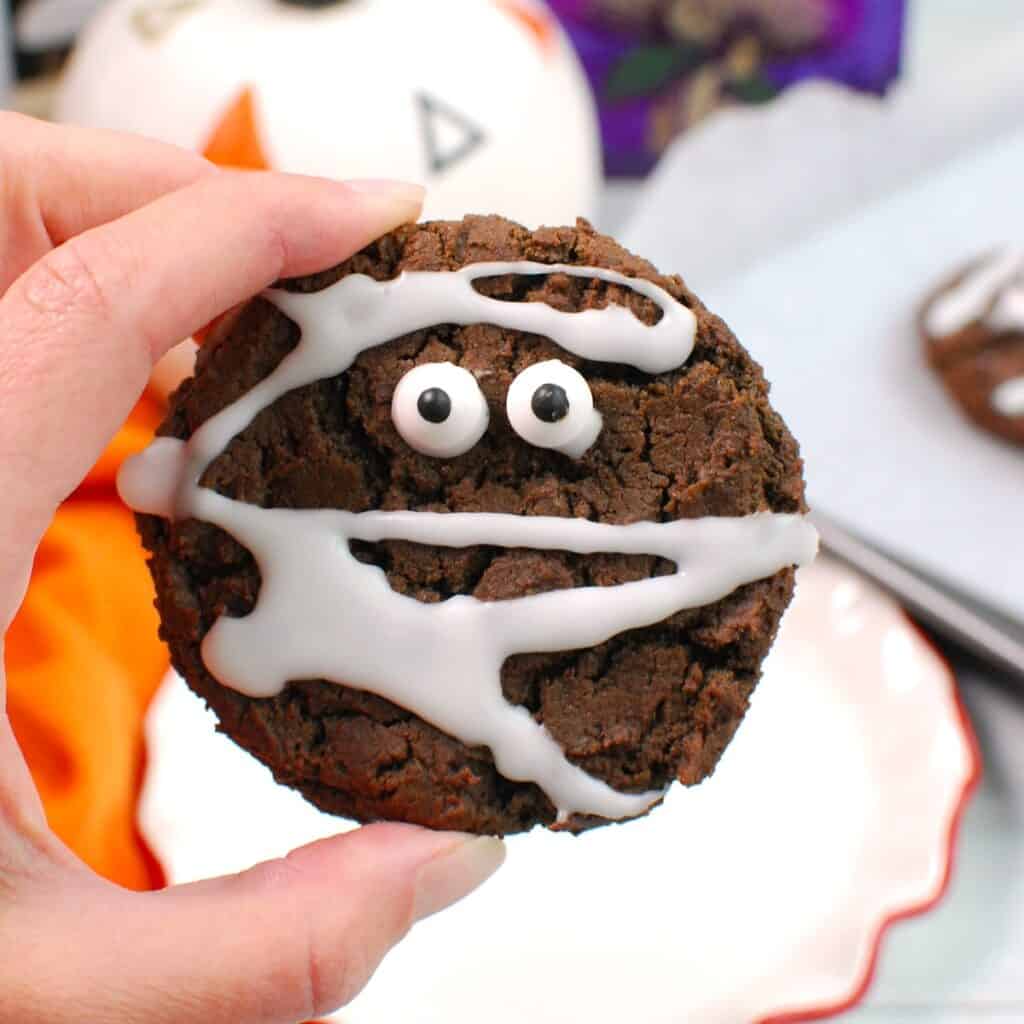
These chocolate mummy cookies make a spooky cute (spoote?) Halloween treat! They start with a chewy chocolate cookie base that’s made from simple ingredients. Then you’ll make a simple powdered sugar icing for the “bandage” drizzles and to attach a couple candy eyeballs. No fancy decorating skills required (because let’s me honest, I know I don’t personally have them and this is about the fanciest Halloween treat people are getting from me, haha).
Ingredient Notes
Here’s a photo of all the ingredients you’ll need for the cookies:
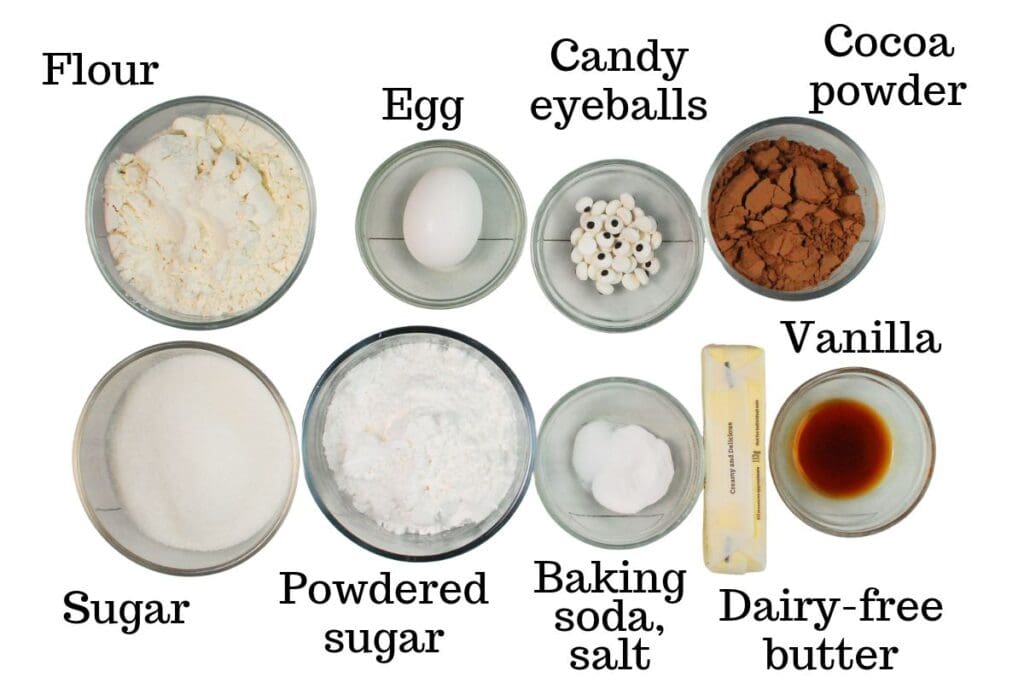
Here are some helpful product suggestions:
- Dairy-free butter – I recommend Country Crock plant butter sticks with avocado oil for this recipe. Their homestyle dairy-free salted butter sticks will also work. If you need a soy-free option, Earth Balance soy free sticks are a great choice. Stick with a stick-style butter; tub-based butters often have a higher moisture content that can throw off the texture of the cookies.
- Water or dairy-free milk (not pictured) – You can use either water or dairy-free milk for the icing in this recipe. I didn’t include water in the photo since I don’t always think of it as an ingredient, but noting it here. I used water making them for an event recently where I couldn’t use dairy-free milk, but if I’m making them at home, I’ll often use oat milk.
- Candy eyeballs – I used Wilton candy eyeballs (Amazon affiliate link; I earn a commission on purchases) which did not contain milk as an ingredient at the time of purchase. Some brands and varieties do contain milk, so just be careful about checking labels. More on that in the allergen section below.
Instructions
You’ll find the full recipe amounts and instructions in the recipe card below, but here’s a helpful overview with photos and tips.
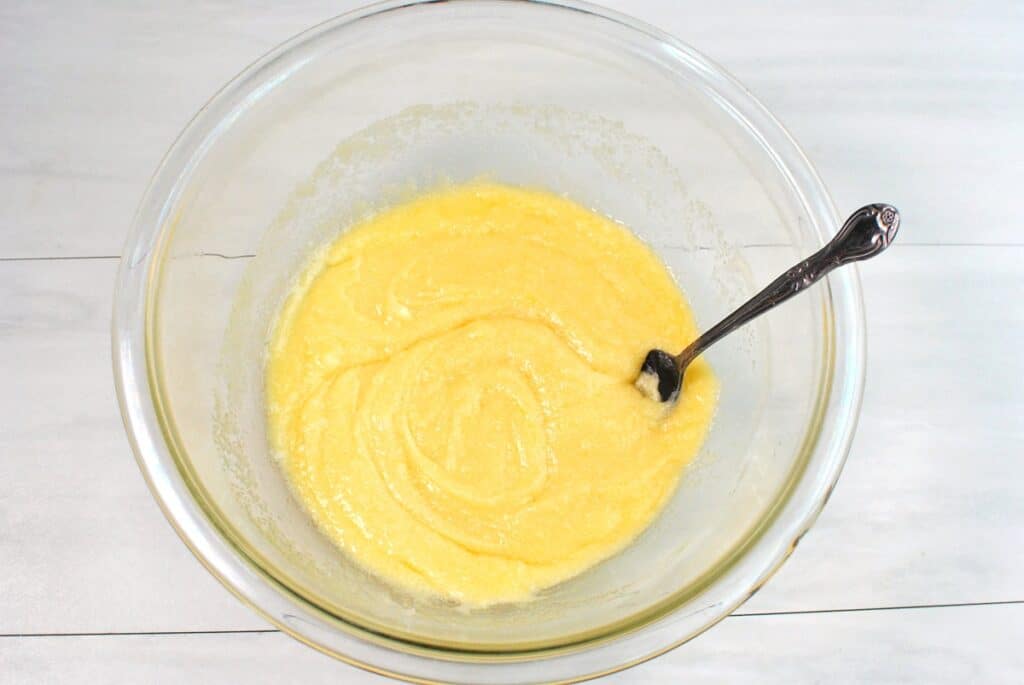
Start by mixing together the melted dairy-free butter (after it’s cooled for a few minutes), sugar, egg, and vanilla. Since the butter is melted, you can easily do this with just a bowl and a whisk or spoon – no stand mixer needed.
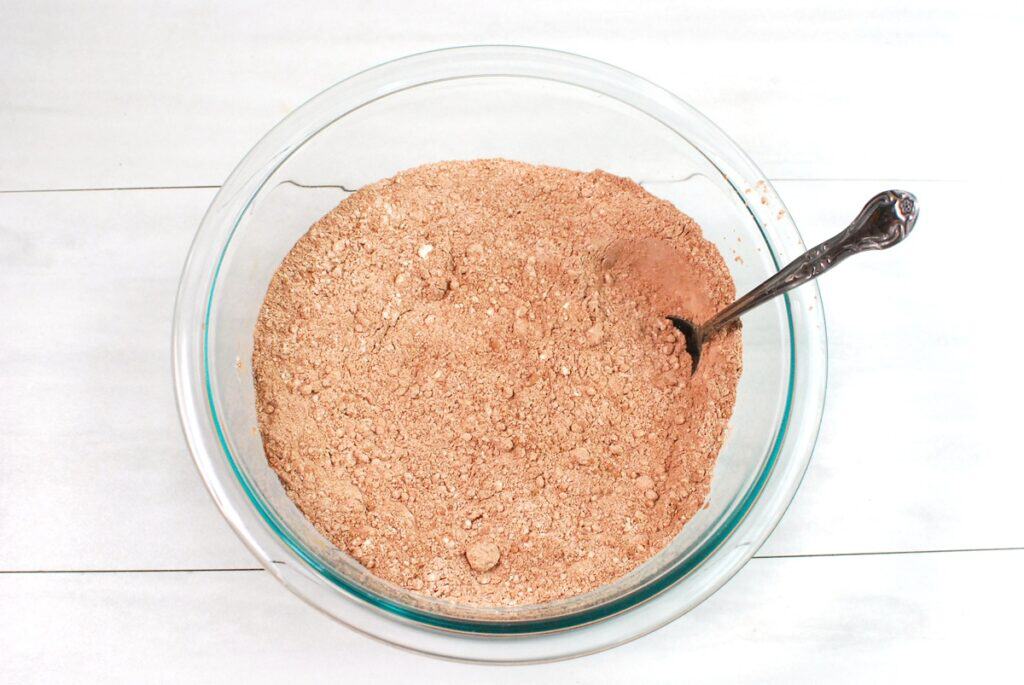
In another bowl, mix together the flour, cocoa powder, baking soda, and salt.
Add the dry ingredients to the wet ingredients and stir until just combined. The dough will be thick and fudgy – that’s exactly what you want!

Use a 2-tablespoon cookie scoop to portion out the dough onto parchment-lined baking sheets. Bake ’em at 350 degrees F for about 10-13 minutes, until the edges are set and the tops no longer look wet. Let them cool completely on the pan.
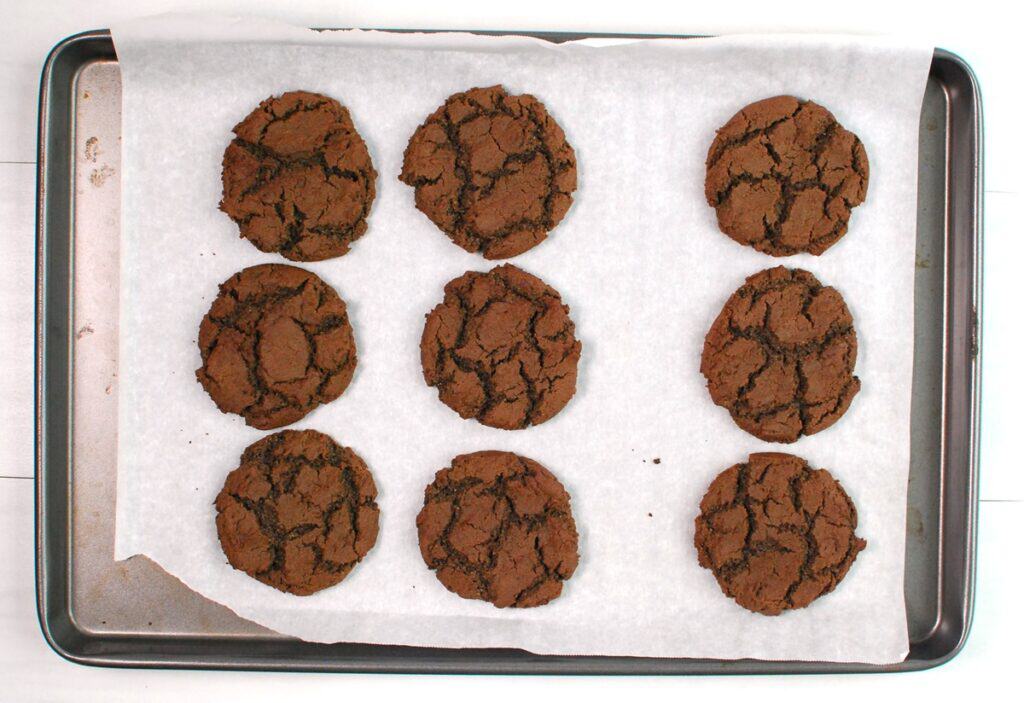
Once the cookies are cool, it’s time to make ’em into mummies! Leave the cookies on the baking sheet for this part.
Mix together the powdered sugar, vanilla, and 1 tablespoon water or oat milk. Stir together, adding a little more liquid if needed, until you get a thick icing that still drizzles from a spoon. Be careful not to make it too thin or your bandages will run right off the cookies.
Grab a spoonful of icing, and carefully, dip the backs of the candy eyeballs one by one in the icing on the spoon, then place them on the cookie. This will allow the eyes to stick to the cookie. It’s best to do this on the spoon, because dipping in the full bowl of icing can create more pull and it’s easier to drop the eyeballs in there. Repeat with all the eyes for all the cookies.
Then, using the spoon, drizzle the icing back and forth over the cookies to create a bandage look. You can also add the icing to a ziptop bag, snip off a corner, and pipe it on that way. But honestly, the spoon method is quicker and the lines don’t need to be perfect for these.
Let the icing set for about an hour, then enjoy!

Recipe Tips and Modifications
Storage: Store cookies in a single layer in an airtight container at room temperature for up to 3 days. For longer storage, freeze the plain cookies (before decorating) for up to 3 months, then thaw and decorate when ready.
Make ahead for parties: You can bake and decorate the cookies a day ahead, just ensure that the icing is thick and sets properly. If I’m prepping ahead for parties or events, I prefer placing the decorated cookies in individual cellophane bags and sealing them so they stay fresh.
Allergens in this Recipe
Disclaimer: Always double check ingredients and labels yourself prior to making a recipe. While I try to check all ingredients for allergens, there’s always the chance I may miss something, or manufacturer formulations can change.
As written, this recipe is dairy free and nut free, as long as your dairy-free butter, dairy-free milk, and candy eyeballs do not contain these ingredients.
This recipe does contain wheat/gluten (in the all-purpose flour) and eggs (in the egg). It can also contain soy, depending on your dairy-free butter and candy eyeballs. For example, I’ve seen some Wilton candy eyeballs that list soy lecithin in their ingredients (including the one I used), but some labels don’t contain this. Similarly, Country Crock dairy-free sticks used to list soy as an ingredient, but the most recent boxes I’ve purchased no longer contain soy (though they do still have a cross-contamination warning). If you can’t have soy, check labels very carefully as these manufactured products can change often.
Here are some suggested modifications if you can’t have one of these ingredients, but please note I have not tested all of these substitutions – they are simply based on what I would try if I was modifying the recipe based on past experience.
- To make wheat/gluten free: Use a gluten-free measure-for-measure flour instead of the all-purpose flour, and double check that your oat milk is certified gluten free (or just use water for the icing).
- To make egg free: Use a flax egg in place of the large egg. To make a flax egg, combine 1 tablespoon of ground flaxseed with 3 tablespoons of hot water. Let sit for 5 minutes until it becomes thicker and gelatinous, then use as directed in place of the egg.
- To make soy free: Choose a soy-free dairy-free butter and look for soy-free candy eyeballs.
More Dairy Free Halloween Treats
If you’re looking for more dairy-free treats to make this spooky season, here are a few of my favorites:
- Chocolate pumpkin crinkle cookies
- Halloween zombie guts cinnamon rolls
- Baked Halloween donuts
- Halloween cookie cake (made with oil)
- Witch finger cookies (made with oil)
I hope you have a blast making these chocolate mummy cookies! If you get a chance to try them, please leave a recipe rating or comment below.

Chocolate Mummy Cookies (Dairy Free)
Ingredients
For the cookies:
- ½ cup dairy-free butter, melted, cooled for a few minutes (i.e. Country Crock Plant Butter Sticks with Avocado Oil, 1 stick)
- 1 cup granulated sugar
- 1 large egg
- 1 teaspoon vanilla extract
- 1 ½ cups all-purpose flour (spooned and leveled)
- ½ cup unsweetened cocoa powder (spooned and leveled)
- 1 teaspoon baking soda
- ¼ teaspoon salt
For the topping:
- ¾ cup powdered sugar
- ½ teaspoon vanilla extract
- 1-2 tablespoons water or oat milk
- 36 mini candy eyeballs
Instructions
-
Preheat the oven to 350 degrees F. Line two baking sheets with parchment paper.
-
In a large mixing bowl, combine the melted dairy-free butter, sugar, egg, and vanilla. Stir until well combined.
-
In another bowl, combine the flour, cocoa powder, baking soda, and salt.
-
Add the dry ingredients to the wet ingredients and stir until combined. The dough will be thick; this is normal.
-
Use a 2-tablespoon cookie scoop to portion the dough onto the parchment-lined baking sheets. Press down slightly with the palm of your hand to flatten into discs (they will spread when baking, so just flatten slightly to help you get larger, flatter cookies for decorating).
-
Bake at 350 degrees F for 10-13 minutes, or until the cookies no longer look wet on top. Let cool on the pan.
-
When cookies are cool, prepare the icing. Mix together the powdered sugar, vanilla, and 1 tablespoon of water or oat milk. Stir together, adding slightly more oat milk if necessary, until a thick icing forms that you can drizzle from a spoon.
-
Scoop up a little icing on the spoon. One by one, dip the backs of the candy eyeballs in the icing, then immediately place two eyes on each cookie.
-
Using spoonfuls of icing, carefully drizzle the icing over the cookies to form the “bandages”. (You can alternatively place the icing in a ziptop bag and cut a tiny hole in the corner to pipe on the icing).
-
Let the icing set for at least an hour, then enjoy!
Recipe Notes
- Stick-based dairy-free butters work best for this recipe. Tub-based butters can contain excess moisture that can throw off the texture of the cookies.
- Check candy eyeball labels carefully, as some brands and varieties contain milk.
- It’s best to leave the cookies on the parchment-lined baking sheet when you’re drizzling the icing on, that way any extra icing just goes on there (instead of making a mess off the parchment).
Nutrition analysis (approximate per cookie): 161 calories, 6 g fat, 2.5 g saturated fat, 160 mg sodium, 27 g carbohydrate, 1 g fiber, 17 g sugar, 2 g protein, Vitamin D: 0%, Calcium: 1%, Iron: 5%, Potassium: 1%
Please pin this post to save for later and share with others!