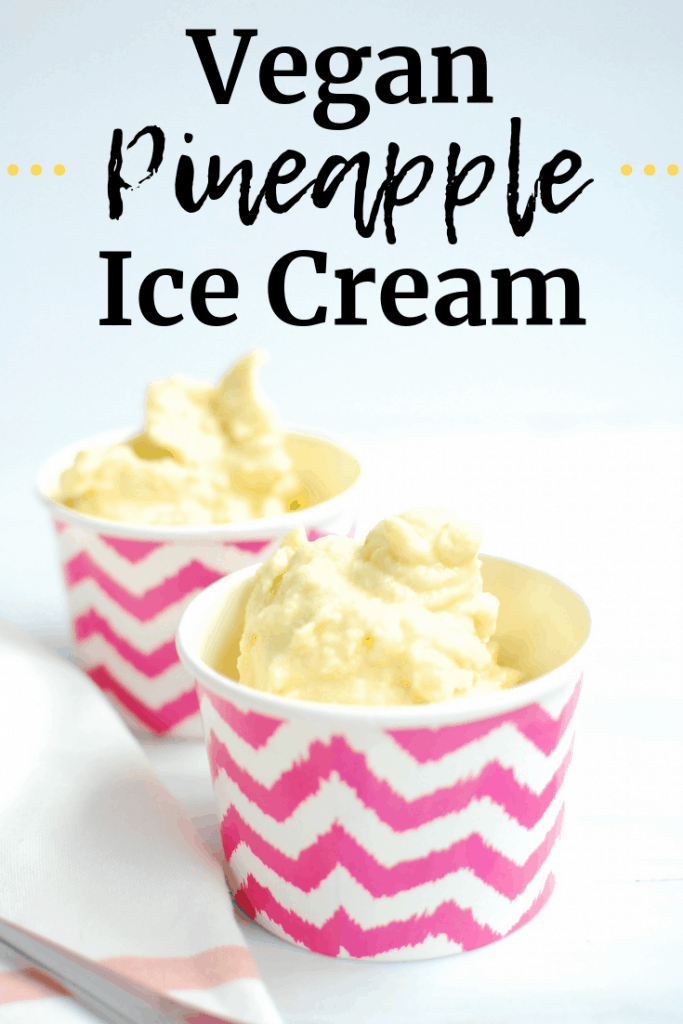
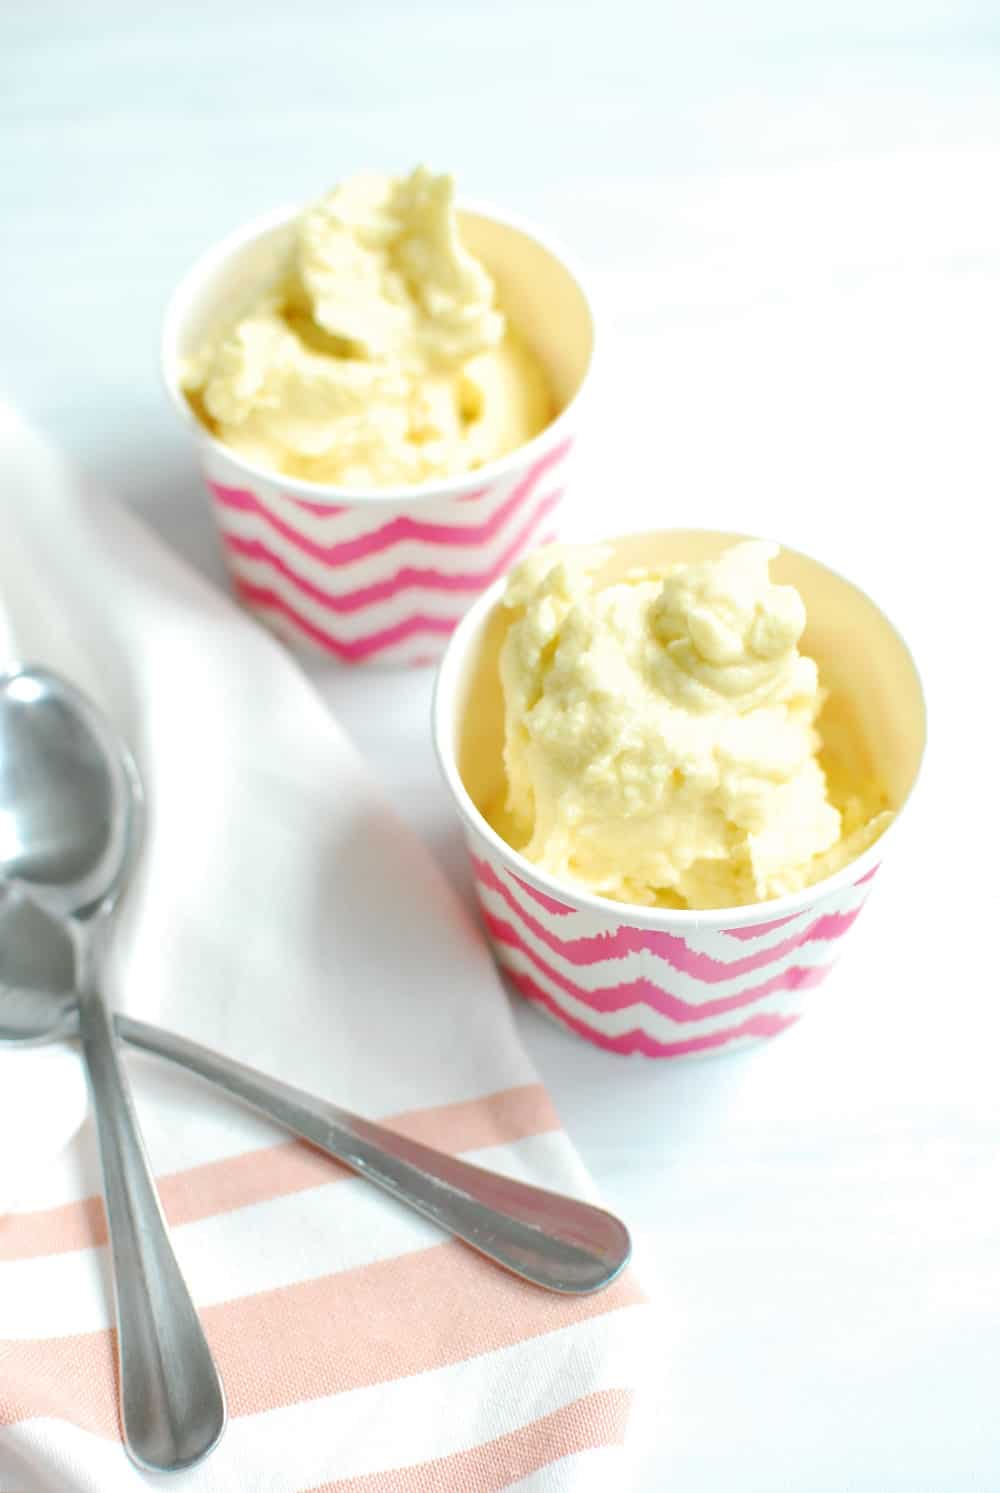
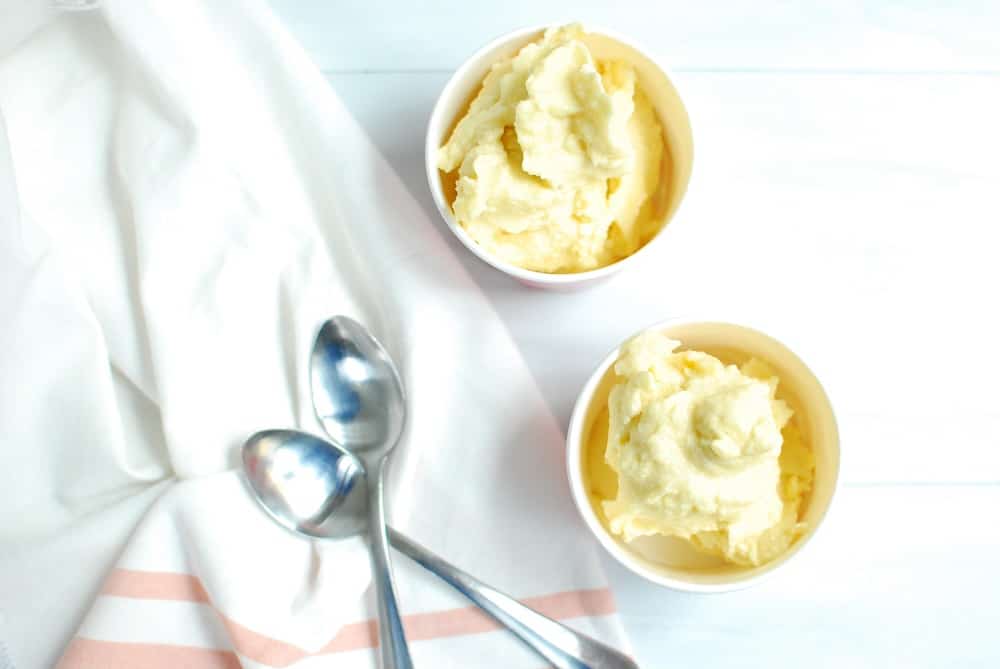
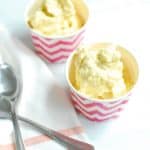
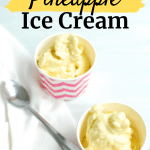
Craving a frozen treat – but looking for a dairy free option? Try this homemade vegan pineapple ice cream! It’s made with just three ingredients and has the consistency of soft serve ice cream.
How to make vegan pineapple ice cream
This recipe is more like a “nice cream” than a traditional “ice cream”, meaning that it has a higher ratio of fruit compared to the cream alternative. But it tastes amazingly sweet and delicious, and has that awesome soft serve texture.
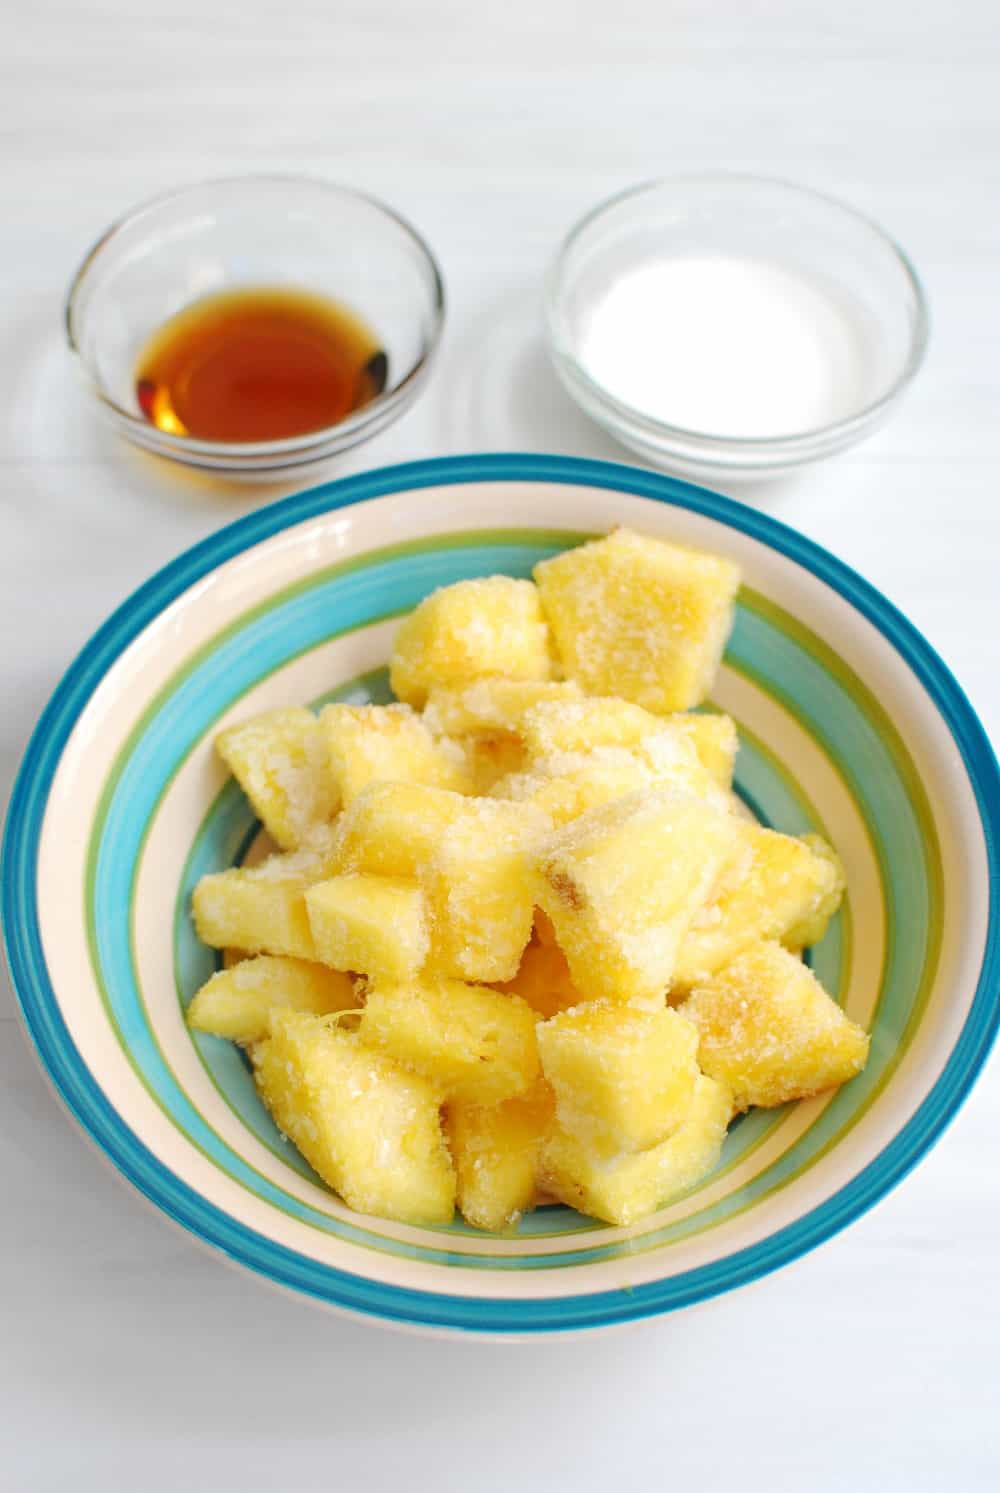
All you need to make it is…
1. Frozen pineapple – I always love to buy fresh pineapple when it’s on sale and freeze the extra we can’t eat in the next few days)
2. Coconut milk – You want the full fat kind that comes in a can (not the drinkable kind that comes in a carton near the almond/oat/etc milks). I recommend making this recipe when you have another dish you’re making with coconut milk (like a yummy curry!) because you can just set aside a small amount from the can to use for this.
If you don’t have coconut milk on hand, you can also easily use coconut yogurt instead! Use the same amount (2 tbsp) and then add a splash of whatever milk alternative you’ve got on hand too.
3. Maple syrup – Technically this is optional, and if you’re pineapple is super sweet you can skip over it. But I love the subtly sweet boost this adds.
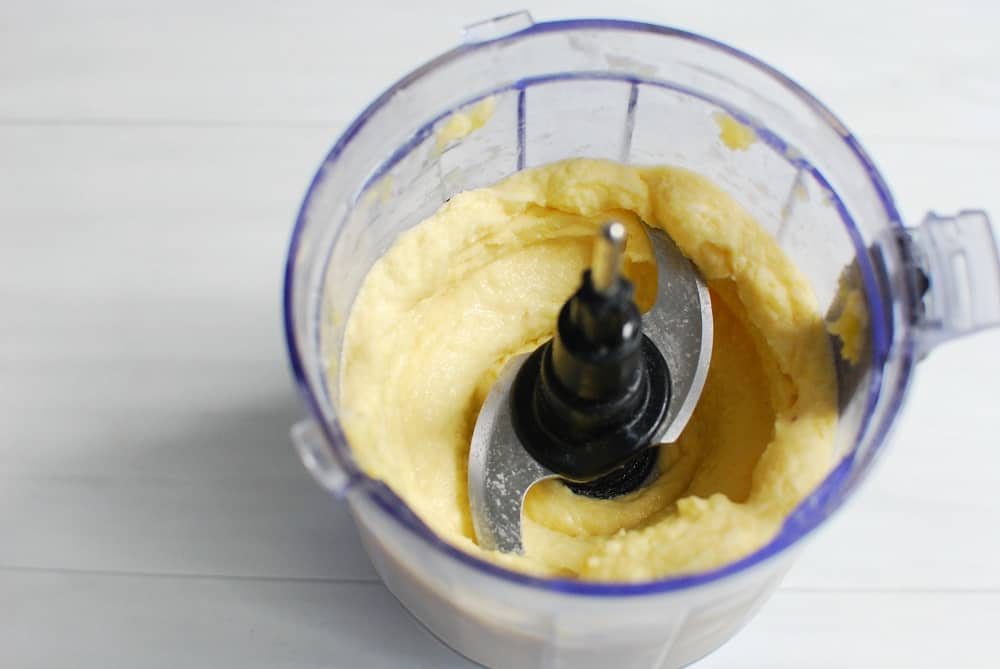
Once you’ve got those three ingredients, you’ll just combine it in a food processor or blender, mix it up, and bam – a delicious (and somewhat nutritious) frozen treat.
(Note though that this recipe is meant to be enjoyed right after making it – it is not meant to be refrozen and eaten later.)
Why I love this snack
Not only is this quick and easy to make, but it creates an “ice cream” that clocks in at just 138 calories with more than 100% of your daily Vitamin C needs (hello, immune helper)!
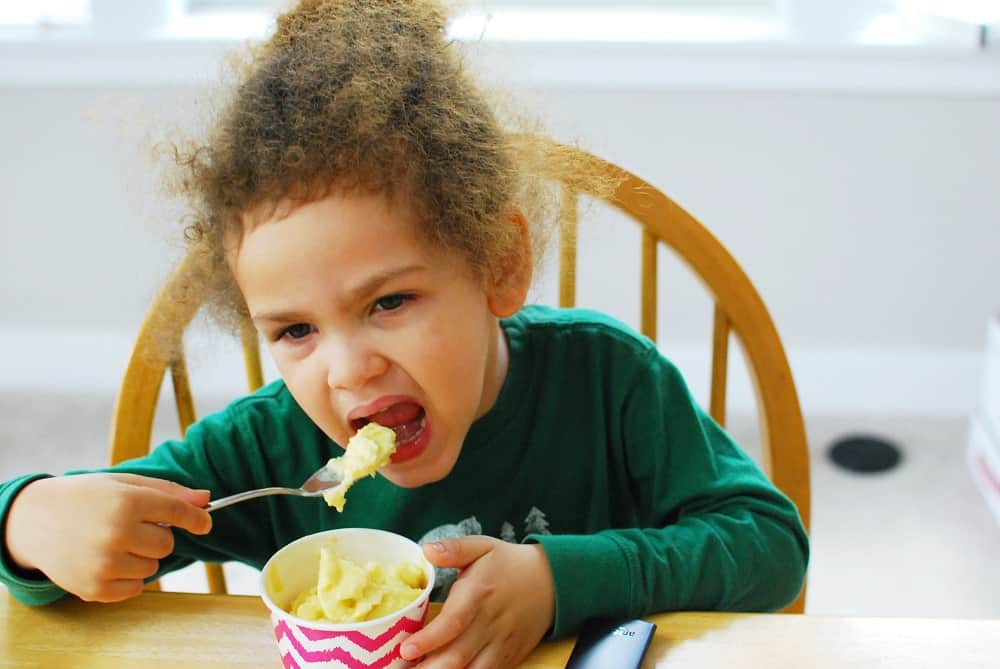
Plus, kiddos love it too. You can tell my son had no qualms about devouring this when we made it today:
Allergens in this recipe
You’ve probably guessed by now that this recipe is free from most major allergens!
The debate about whether coconut is a tree nut is ongoing, but many people with tree nut allergies can safely consume coconut. Obviously, you’ll want to check with your doctor on this one if you’re not sure about your own personal situation.
If you do have an allergy to coconut, you can substitute oat milk in this recipe – the texture will be more sorbet-like but it still tastes amazing.
Otherwise, though, this is free of dairy, soy, egg, wheat/gluten, peanuts, and (other) tree nuts. Great for food allergy families and MSPI mamas!
Looking for more vegan ice cream recipes?
Try one of these tasty options that I found from other awesome food bloggers. I noted any allergens I spotted but be sure to check carefully before you make it to ensure if fits your needs, as recipes may change or I may have missed something!
- Dairy free banana ice cream – this recipe features a chocolate sunflower seed butter swirl plus Biscoff cookies to top it. (contains wheat and soy)
- Vegan cardamom spiced coconut ice cream – this is more of a traditional ice cream recipe, made with lots of coconut milk! (contains coconuts and cashews)
- Skinny vegan cherry ice cream – super simple and delicious – plus top 8 free!
- Vegan fudgsicles – this dairy free frozen treat has a secret ingredient – avocado! (recipe contains cashew milk but any milk alternative can be used)
- Blushing apricot sorbet with fresh basil – this ones only for you mama – you’ll make it by cooking apriocots in rose wine, yum! (free of major allergens)
- Mango strawberry banana ice cream – a classic blend of fruity flavors that’s perfect for kids and adults alike! (top 8 free)
- Double chocolate coconut ice cream – a traditional rich vegan ice cream that is so chocolaty and decadent. (contains coconut)
I hope you enjoy this vegan pineapple ice cream – be sure to leave a comment or recipe rating if you try it! 🙂 And if you need more dairy free dessert recipes, don’t forget to try my dairy free sugar cookie bars or dairy free donuts!
Homemade Vegan Pineapple Ice Cream
This homemade vegan pineapple ice cream is made with just three ingredients and has
the consistency of soft serve ice cream!
Ingredients
- 2 cups frozen pineapple
- 2 tbsp canned coconut milk
- 1 tbsp maple syrup (optional)
Instructions
-
Combine everything in a mini food processor (recommended) or blender. Turn on for about 10-15 seconds.
-
Turn off, scrape down the sides, and push any remaining pieces of fruit back down. You may have to do this 1 or 2 more times but eventually a nice creamy consistency should form. Enjoy right after making.
Recipe Notes
- I have made this in both the Ninja mini food processor or Ninja blender cup. I recommend a mini food processor for best results. If using a blender, a higher quality blender is recommended. If you're using a lower quality blender and are having trouble, let the pineapple sit for about 10-15 minutes to slightly thaw, which should allow it to blend.
- This recipe is meant to be enjoyed right after making it - it is not meant to be refrozen and eaten later.
Nutrition analysis (approximate per serving):
138 calories, 3.5 g fat, 3 g sat fat, 5 mg sodium, 29 g carbohydrate, 2 g fiber, 22 g sugar, 1 g protein, Vitamin A: 2%, Vitamin C: 132%, Calcium: 3%, Iron: 6%
Share: What did you think of this homemade vegan pineapple ice cream? What’s your favorite dairy free frozen treat to enjoy?
Sounds so yummy and thanks for including my vegan cherry version!
Of course – I loooove cherry flavor anything!! 🙂
Pingback: Easy 1-Minute Vegan Mug Brownie - Dairy Free for Baby
Pingback: The Best Almond Flour Peanut Butter Cookies (Vegan, Gluten Free)
Pingback: 36 Ice Cream, Nice Cream, FroYo and Popsicle Recipes
This recipe really requires a Vitamix, Thermomix, Blendtec, or other high speed blender the way it’s written. I tried it and my blender kept getting stuck, and it’s a decent better than standard blender. I had to add a half cup of coconut milk until it started working, and it needed the sides scraped down maybe a dozen times. At that point though to make the blender go the end result was a smoothie and not the nice thick icecream-ish dish photographed, which is a natural result of it being thinned down so much. I just wish the notes had mentioned it required the luxury blender so I hadn’t gotten my hopes up.
Hi there. I’m sorry to hear it didn’t work out for you, I know that can be disappointing! I don’t have a Vitamix or one of the other blenders mentioned. I made this in a Ninja mini food processor (the photo of the processor cup is in the post) and have also done it in the Ninja blender cup – both worked on my end. Do you have a mini food processor that you could try? That might work better for you if the blender wasn’t cutting it. 🙂 I’ll add a note about this to the recipe itself too.
This stuff is really good. I like that it’s got that ice cream texture in just a few minutes of blending (way easier than doing a no churn recipe and having to let it sit in the freezer). It did take some scraping down the sides of the blender to get it all combined but worked well.
Sorry for the delay in approving this comment and replying – but so glad you enjoyed it! Thanks for taking the time to leave a comment 🙂
While it does taste good, it freezes to a consistency of an ice cube. I couldn’t scoop it straight out of the freezer and had to let it sit a bit to thaw a little. Still not ideal.
Hi Betty! Thanks so much for this comment. This recipe is meant to be enjoyed directly after making (it should be the texture of soft serve ice cream immediately after blending), which is why it’s a small two batch serving – it’s not meant to be frozen for later. While I had a small note further up the post about this, I didn’t have a note in the recipe card mentioning this – so I appreciate you bringing that to my attention. I have added that note in the recipe card itself to avoid confusion in the future. Appreciate you taking the time to let me know! 🙂